Attaching a Sleeve to your quilt.
This “how to” is the way I attach a sleeve for shows or even just to hang on the wall at home. Even though this is the basic method for attaching a show sleeve (or outdated way), please make sure that you check the exact show rules for their regulations.
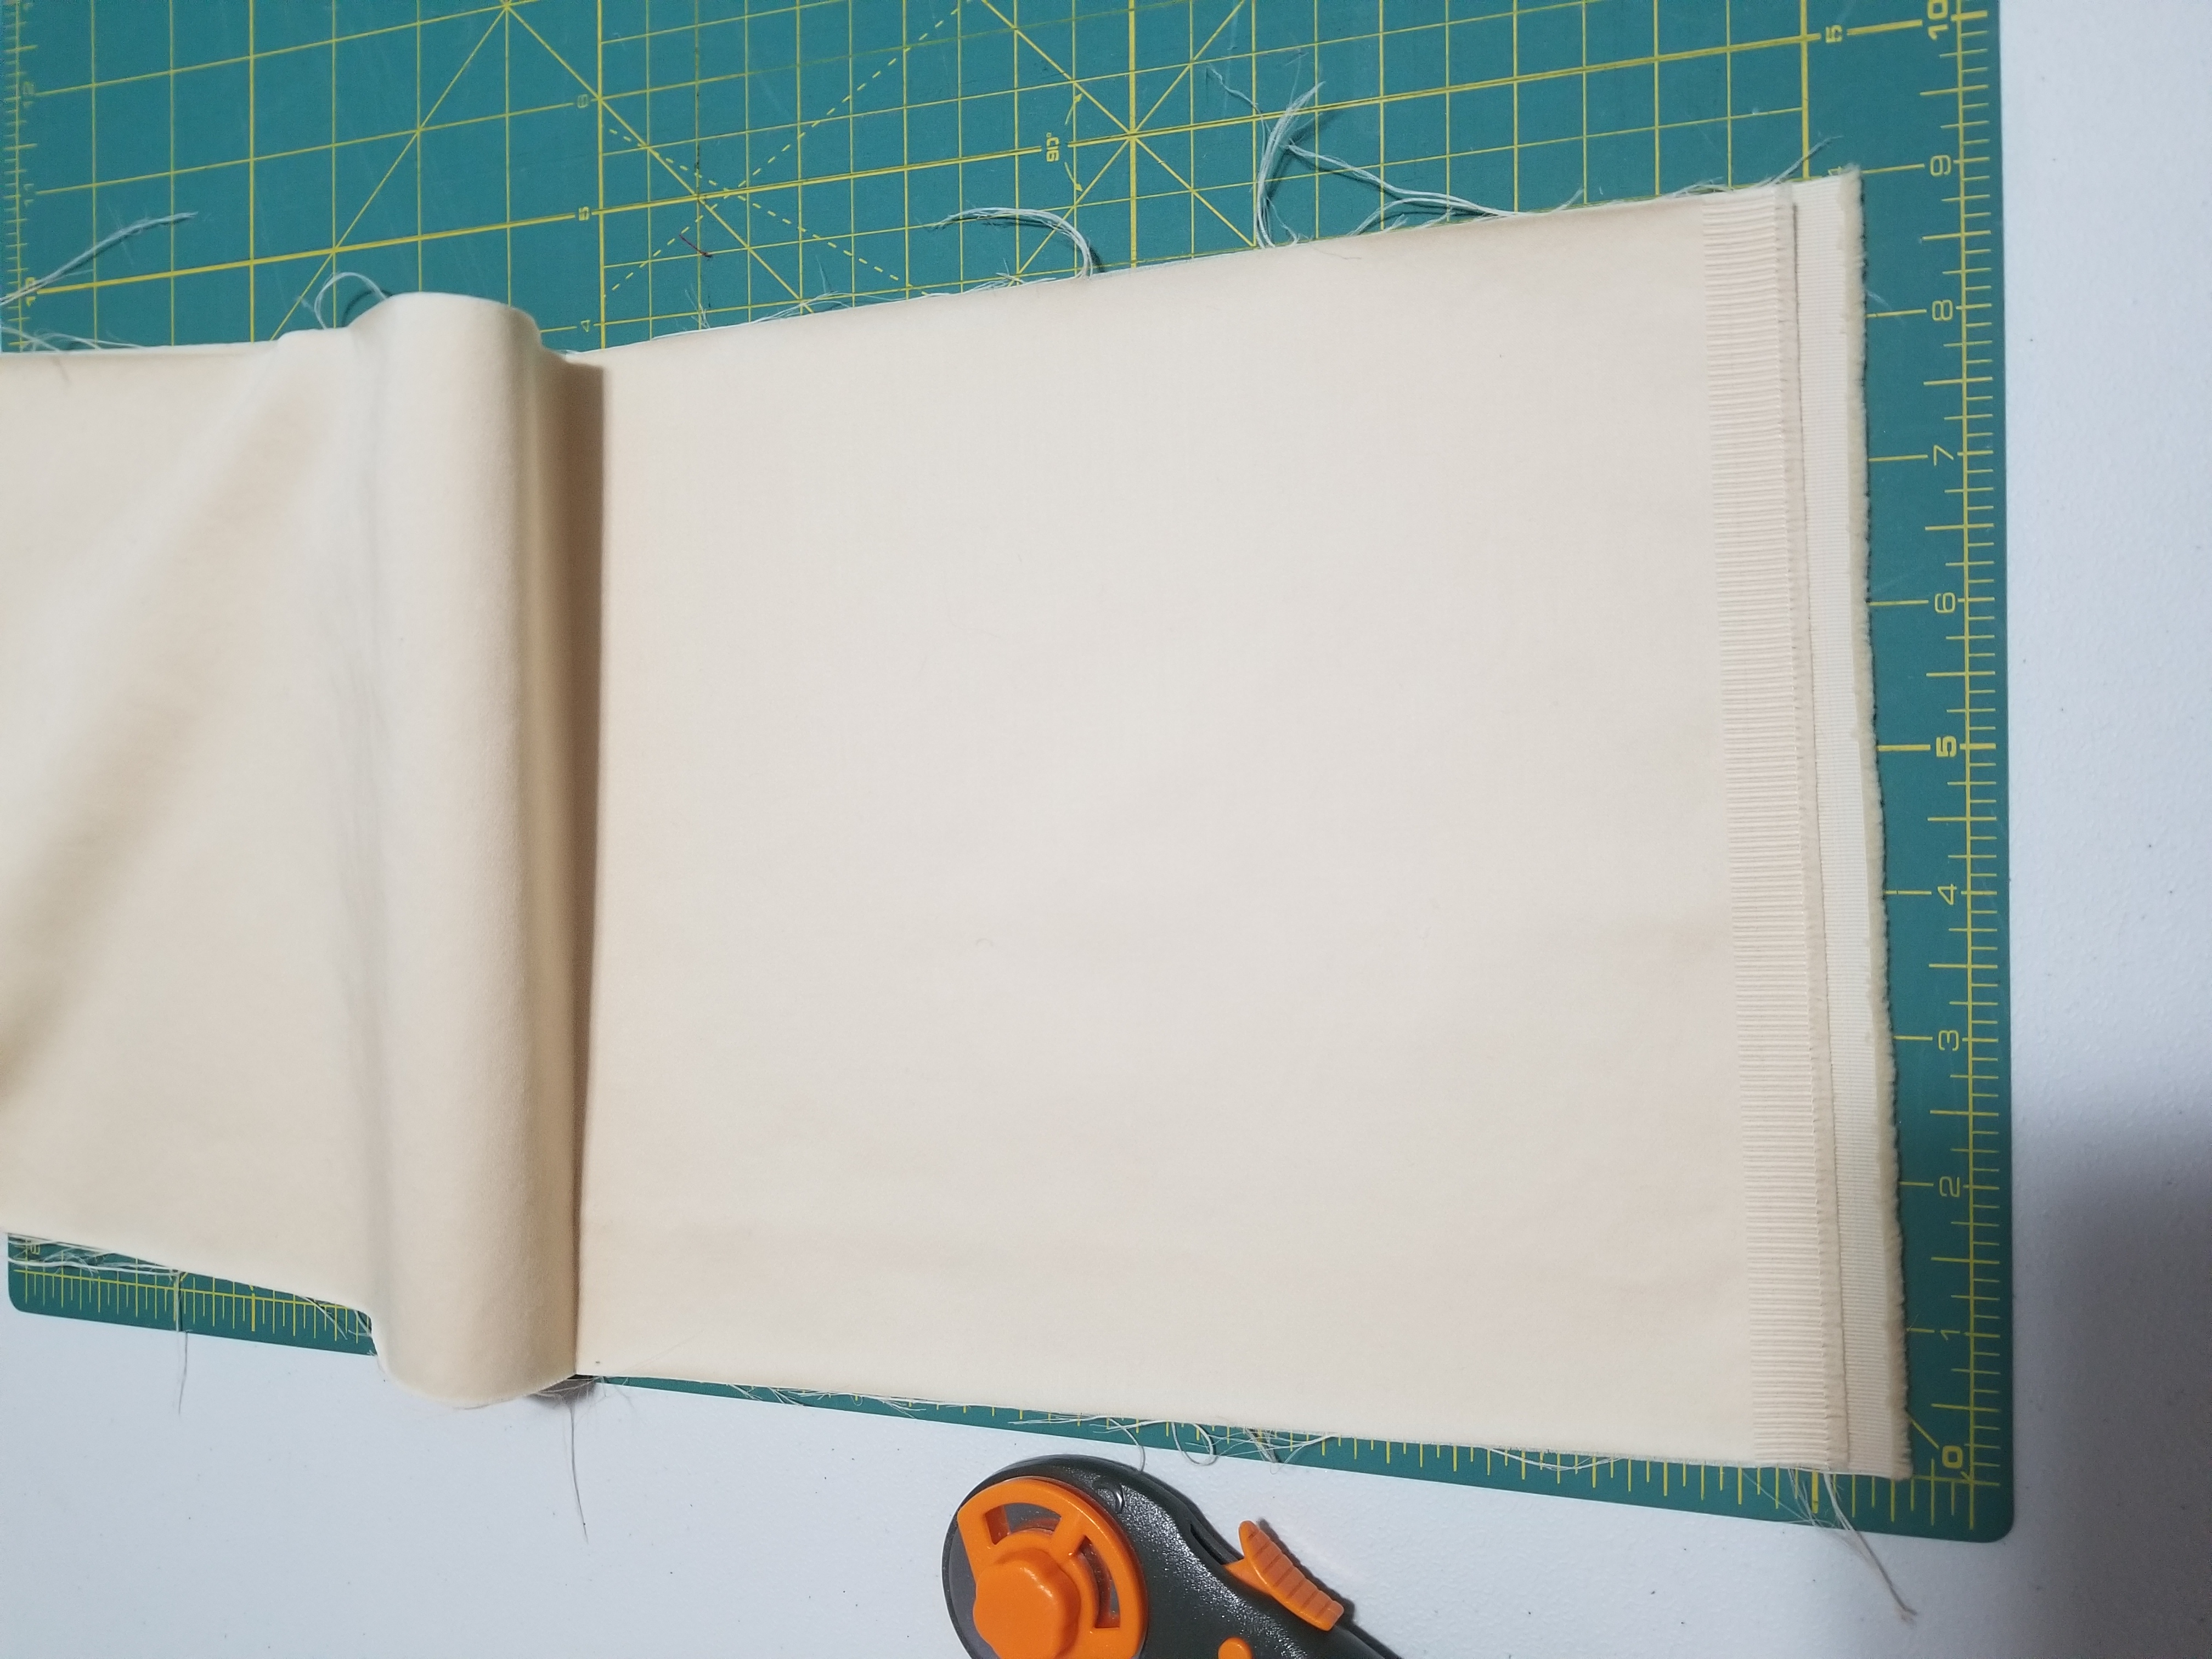
Step 1: Cut a 9″ x wof (width of the fabric) strip.
Step 2: Measure your quilt across the back, top of the quilt where the sleeve should go. Or according to the placement rules of the show that you are entering (depending on how large your quilt is).
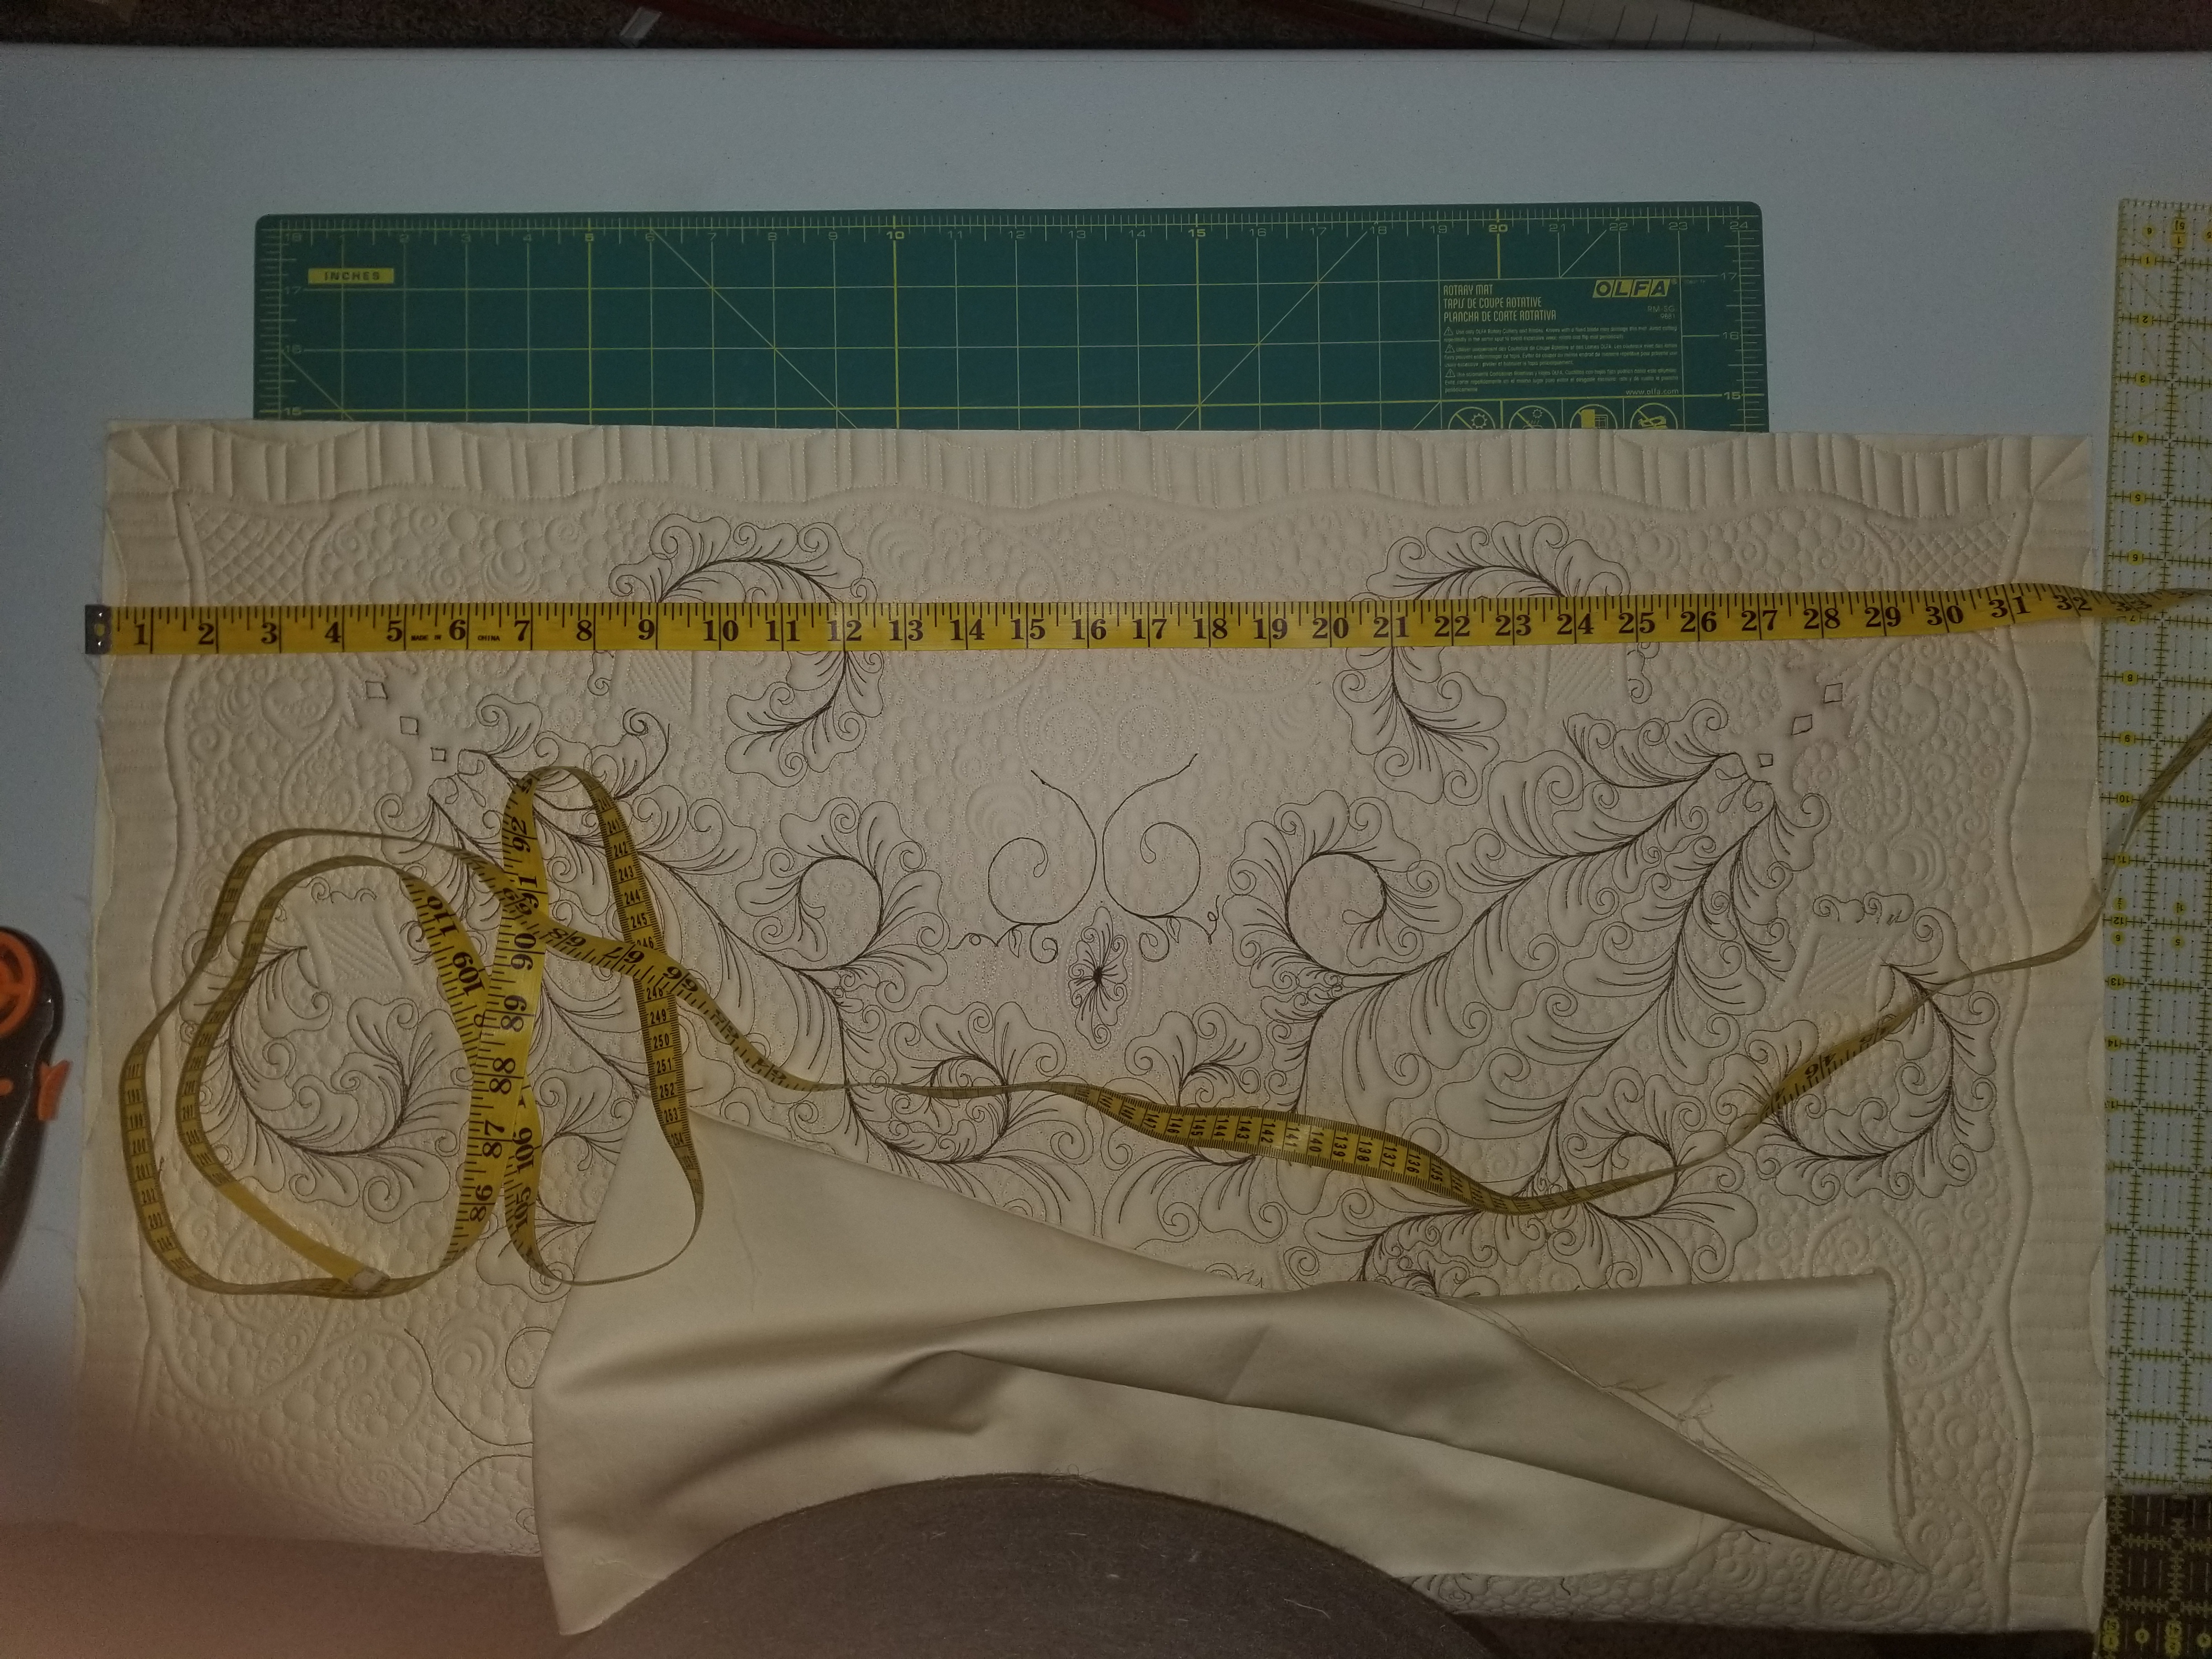
Step 3: Cut your strip to the width (measurement from step 2) across the quilt, minus 2 inches.
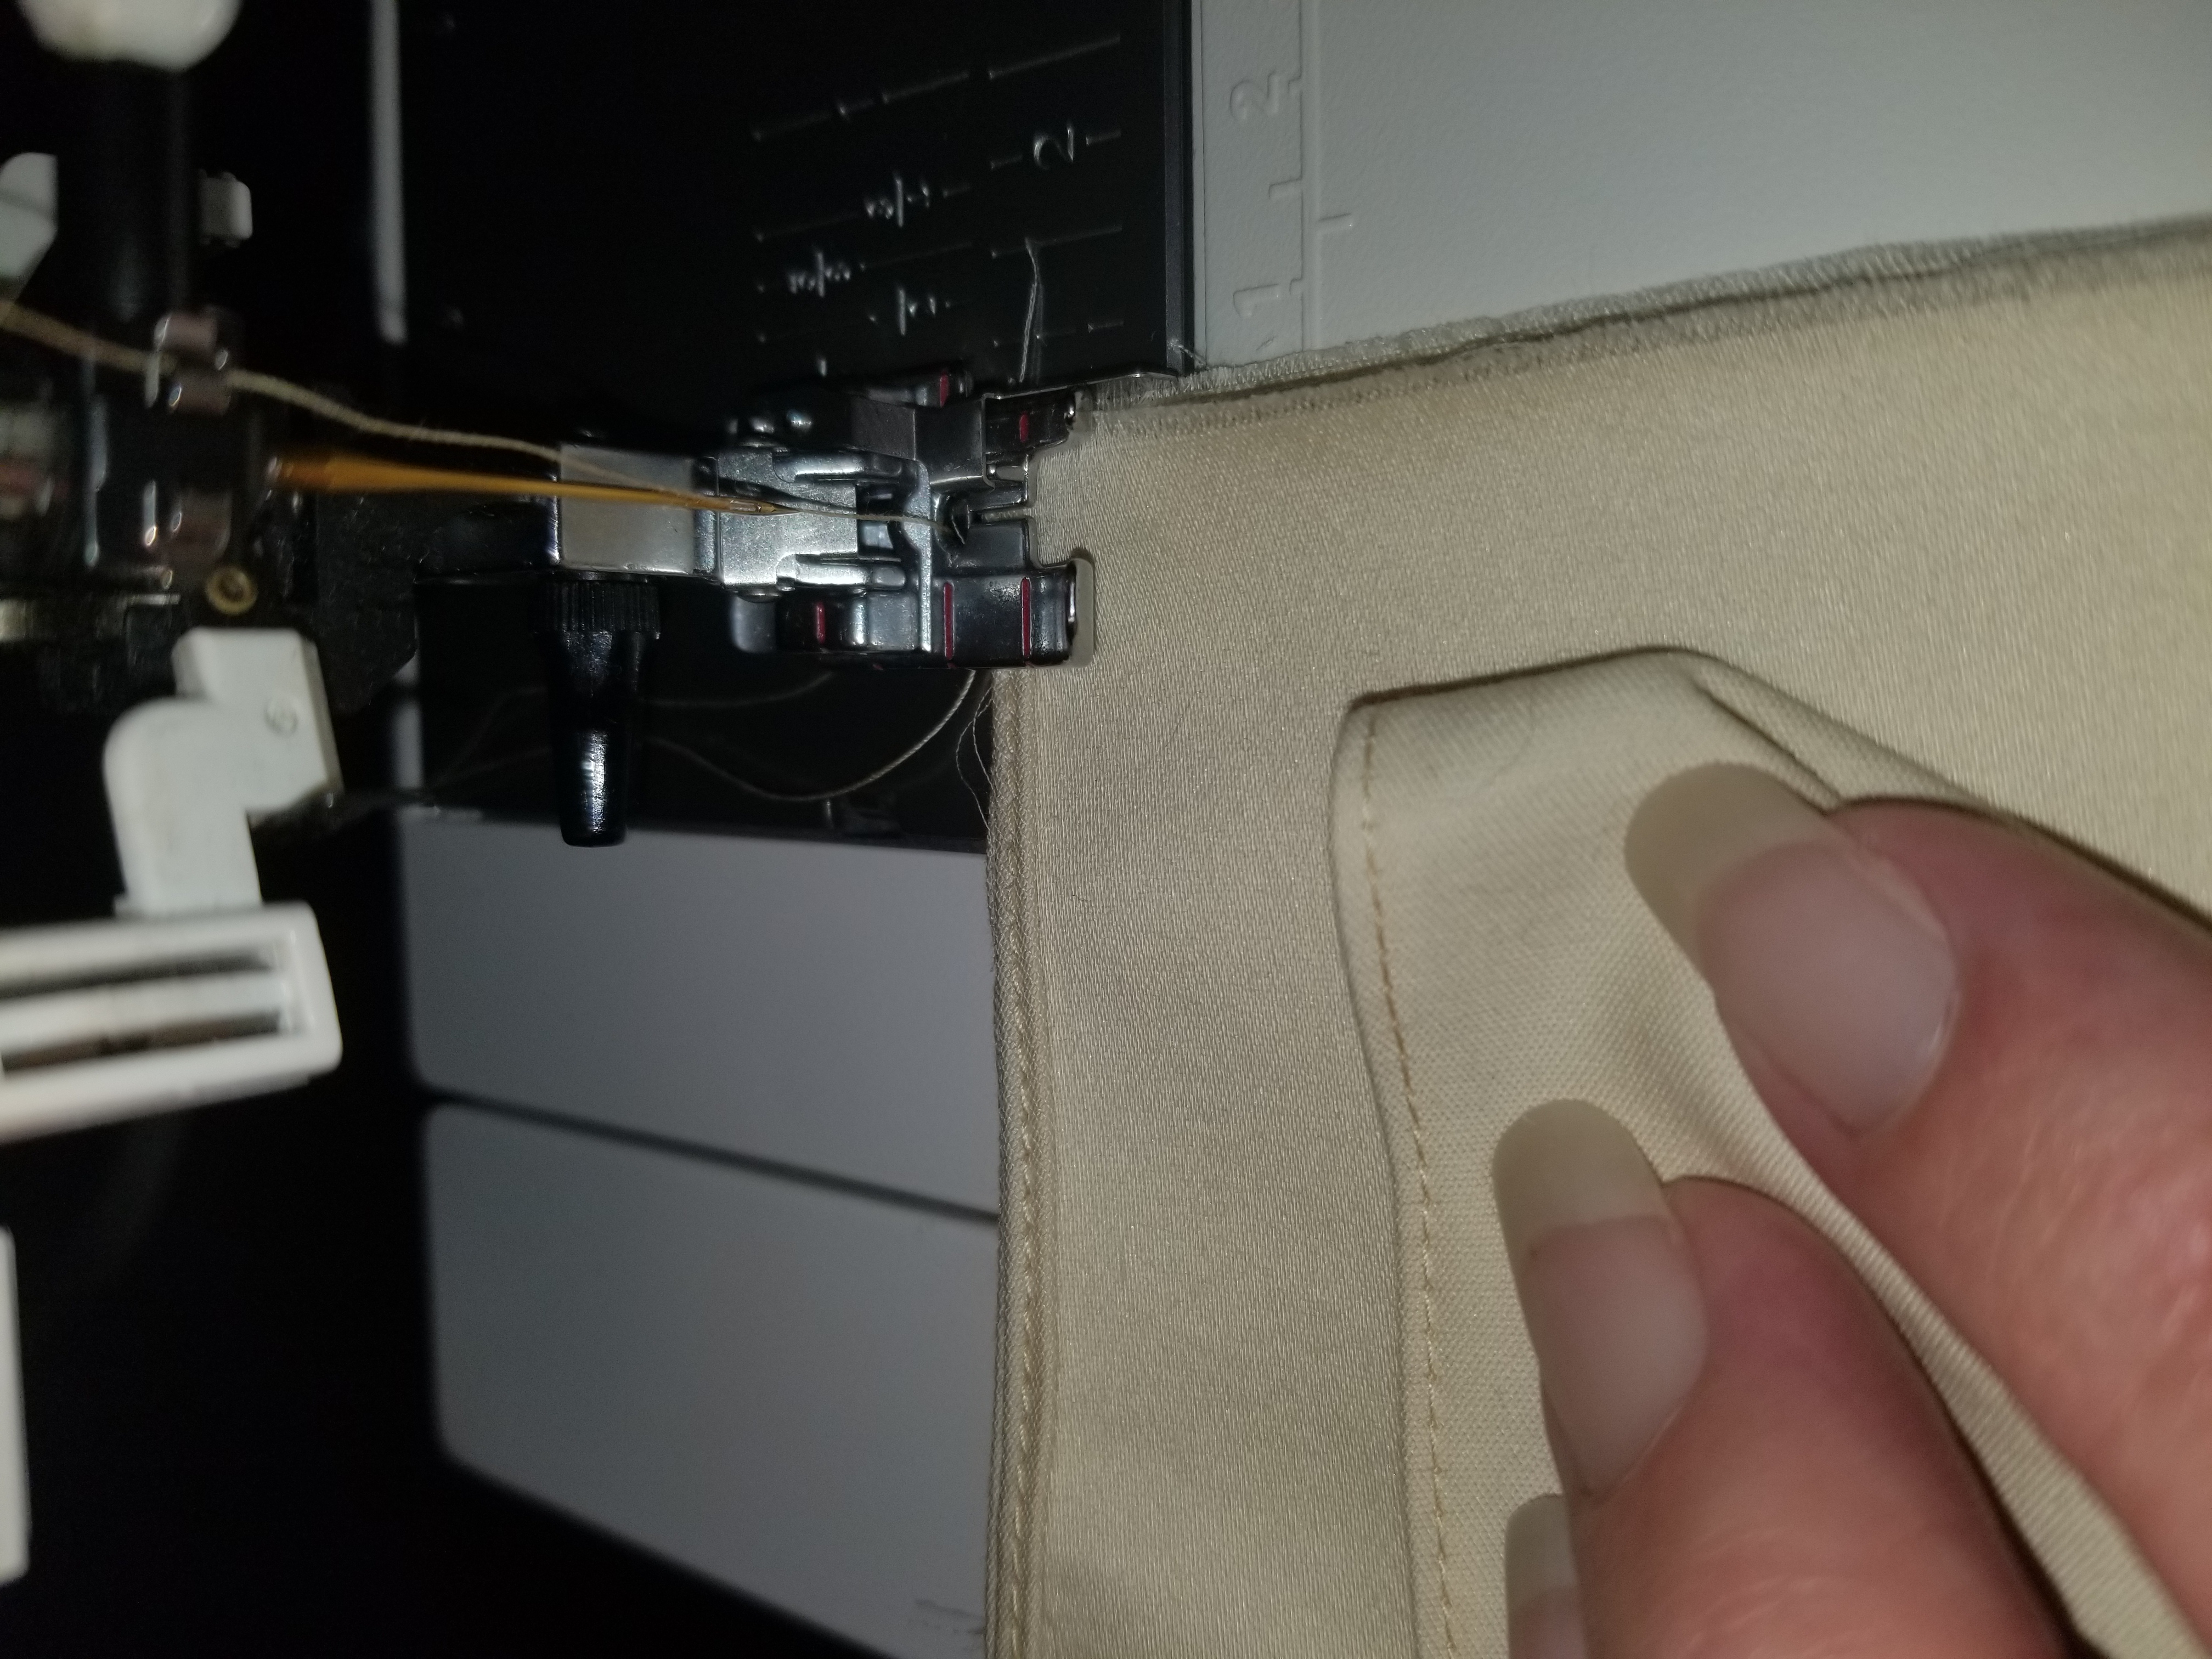
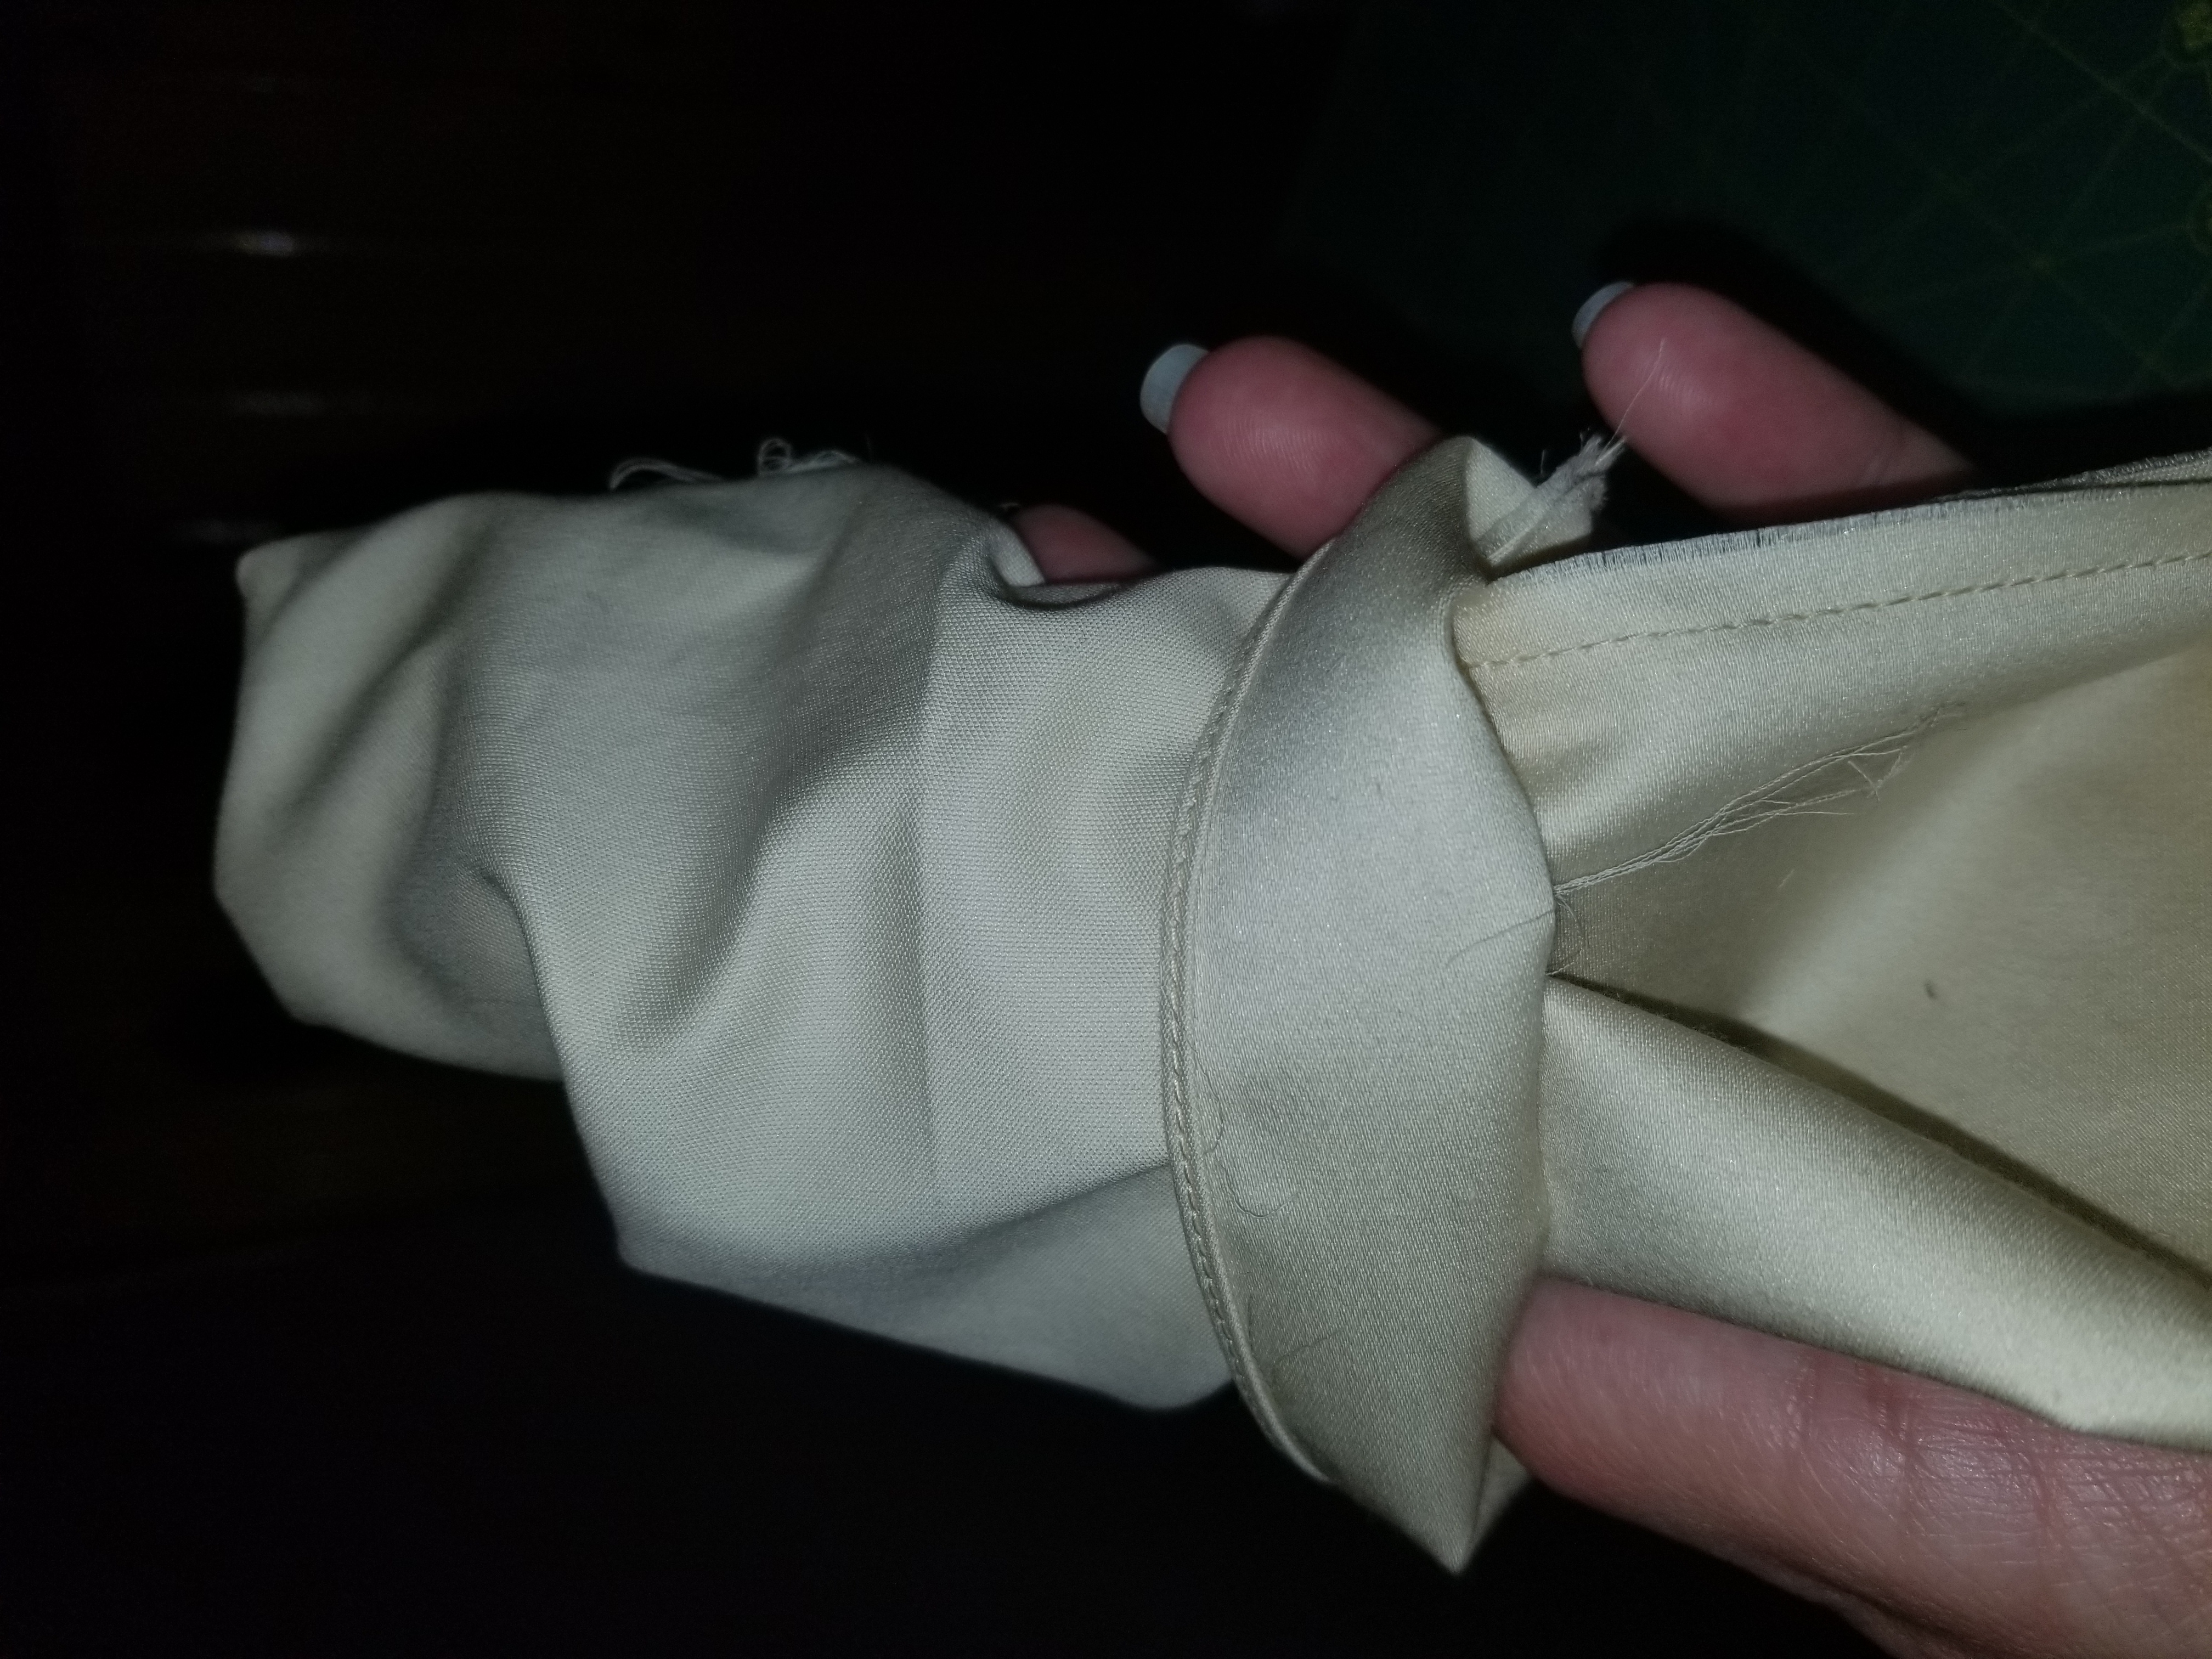
Step 4: Press in the ends ¼” twice and then top stitch in place. I used a rolled hem foot on this one.

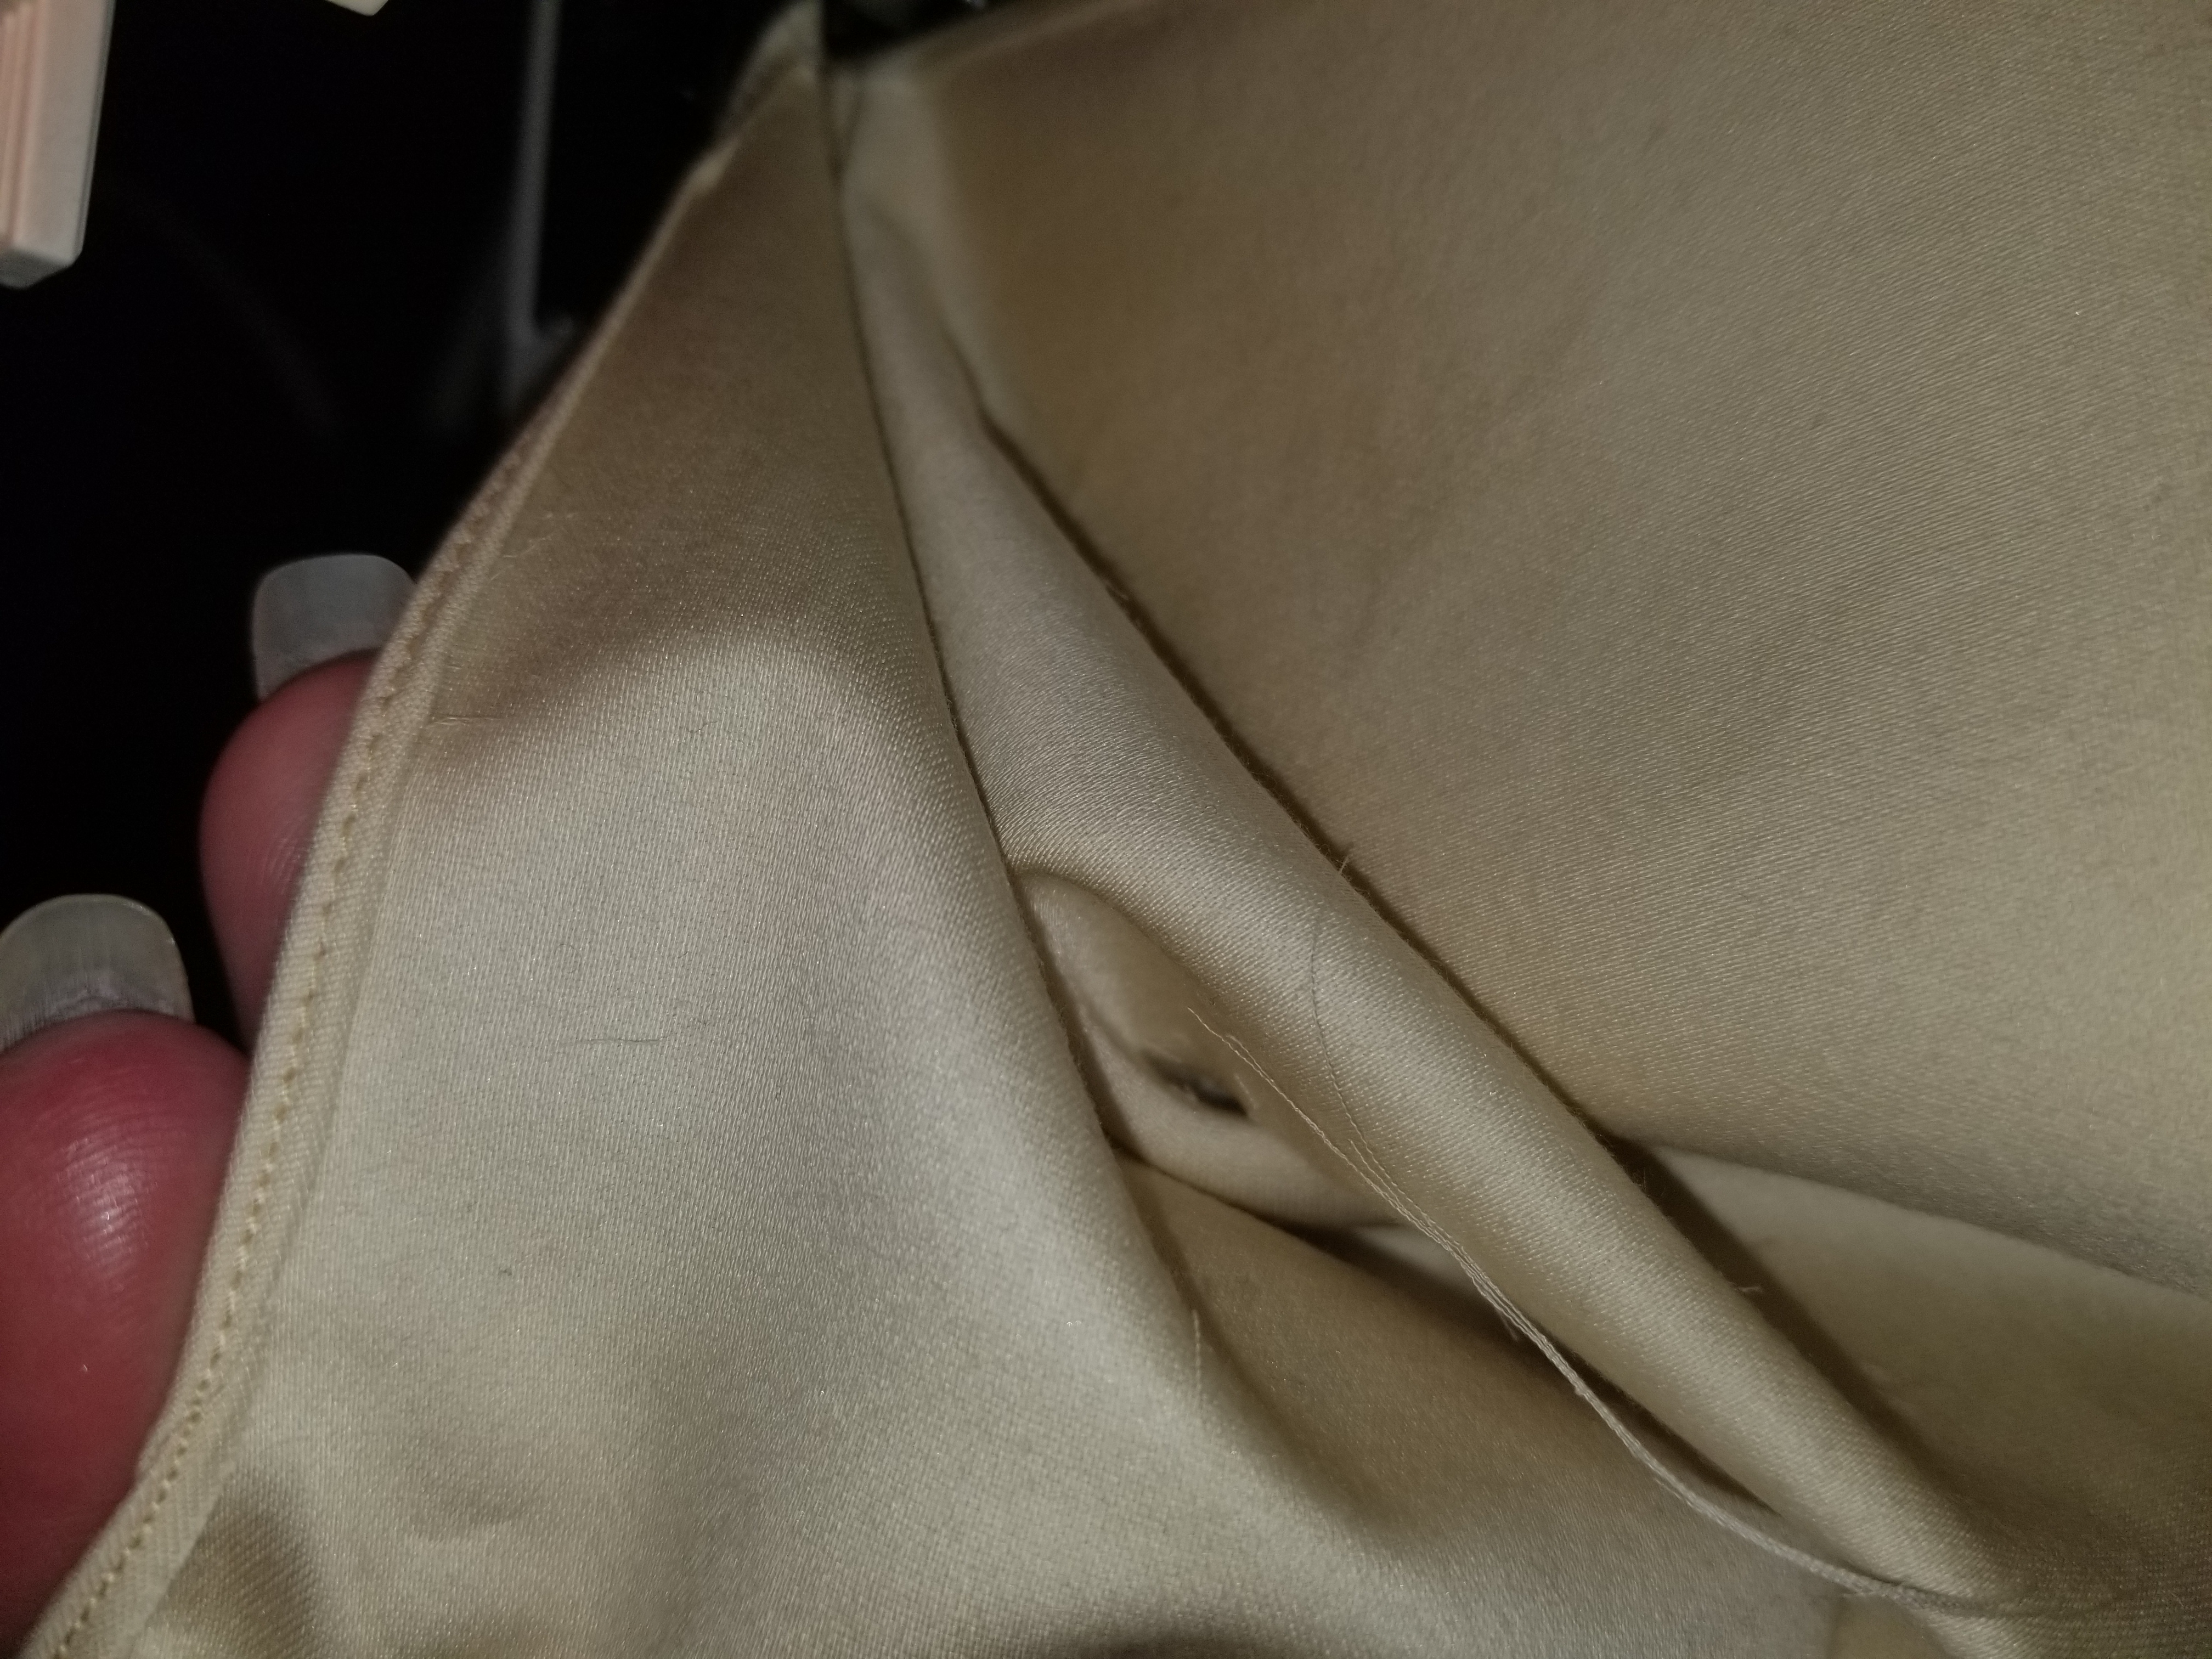
Step 5: Fold fabric in half longways with right sides facing. Sew a ¼ inch seam all the way from one end to the other.
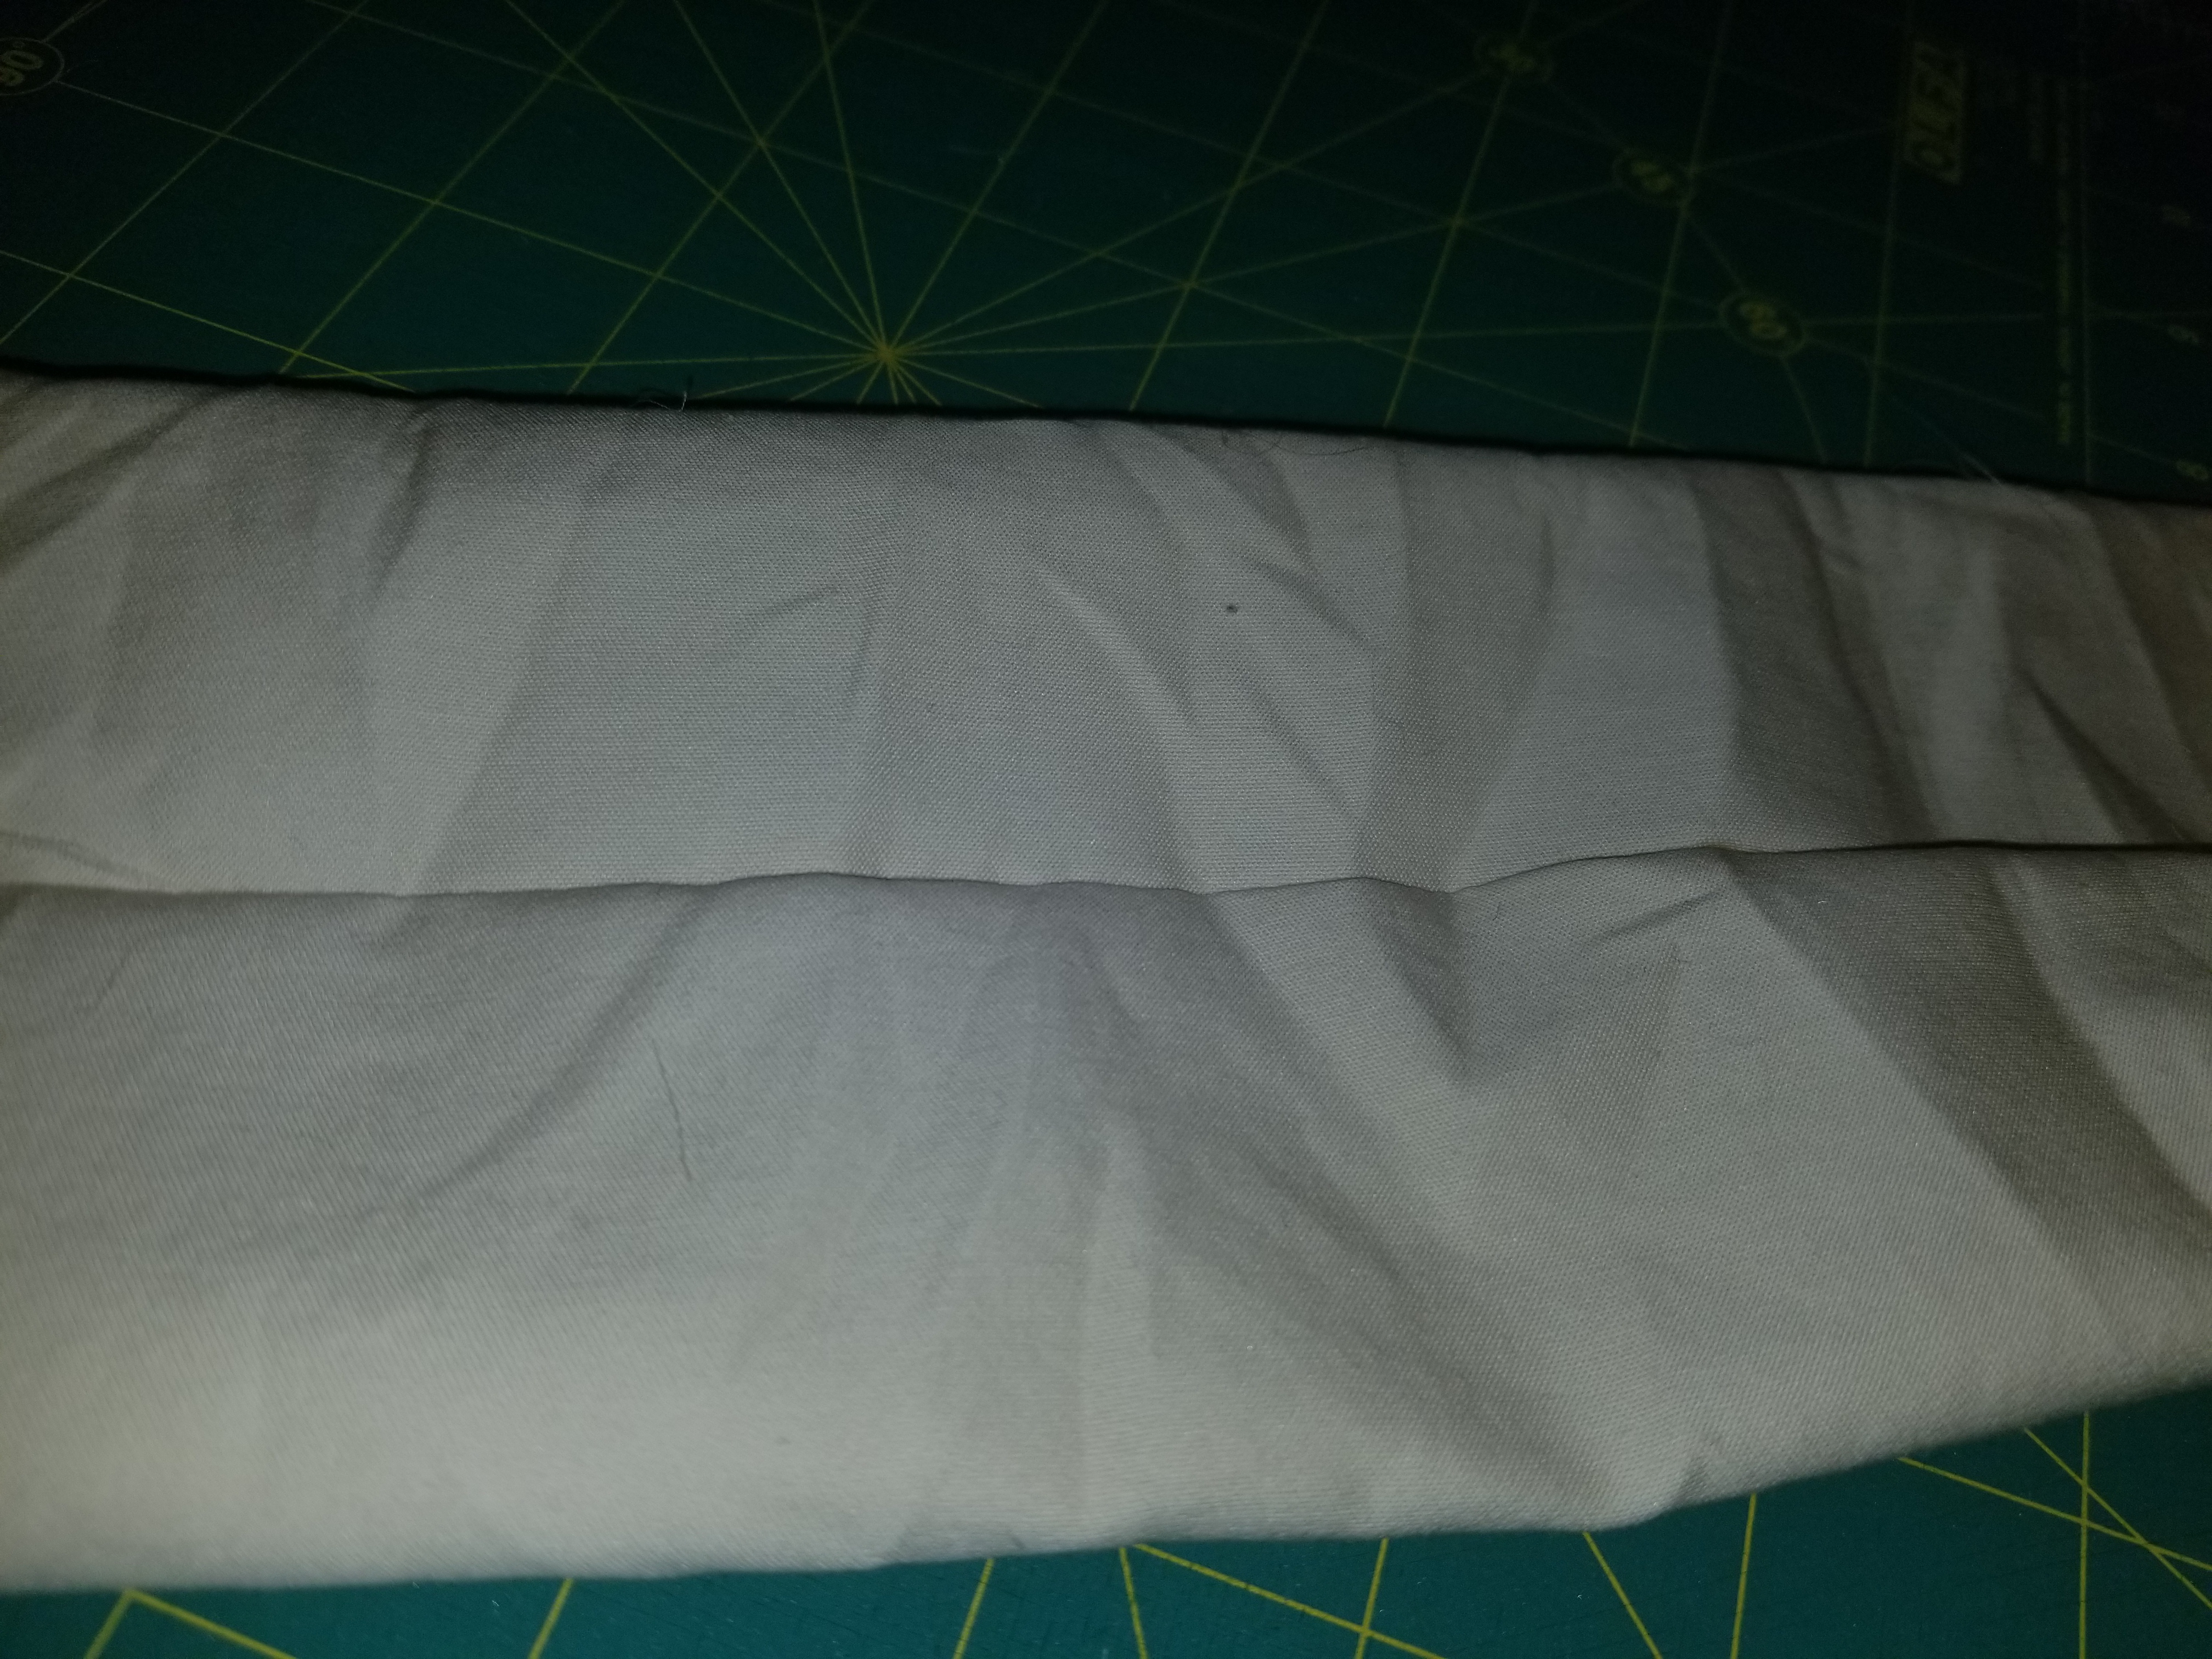
Step 6: Turn your newly made tube inside out. Press your seam to one side or the other.
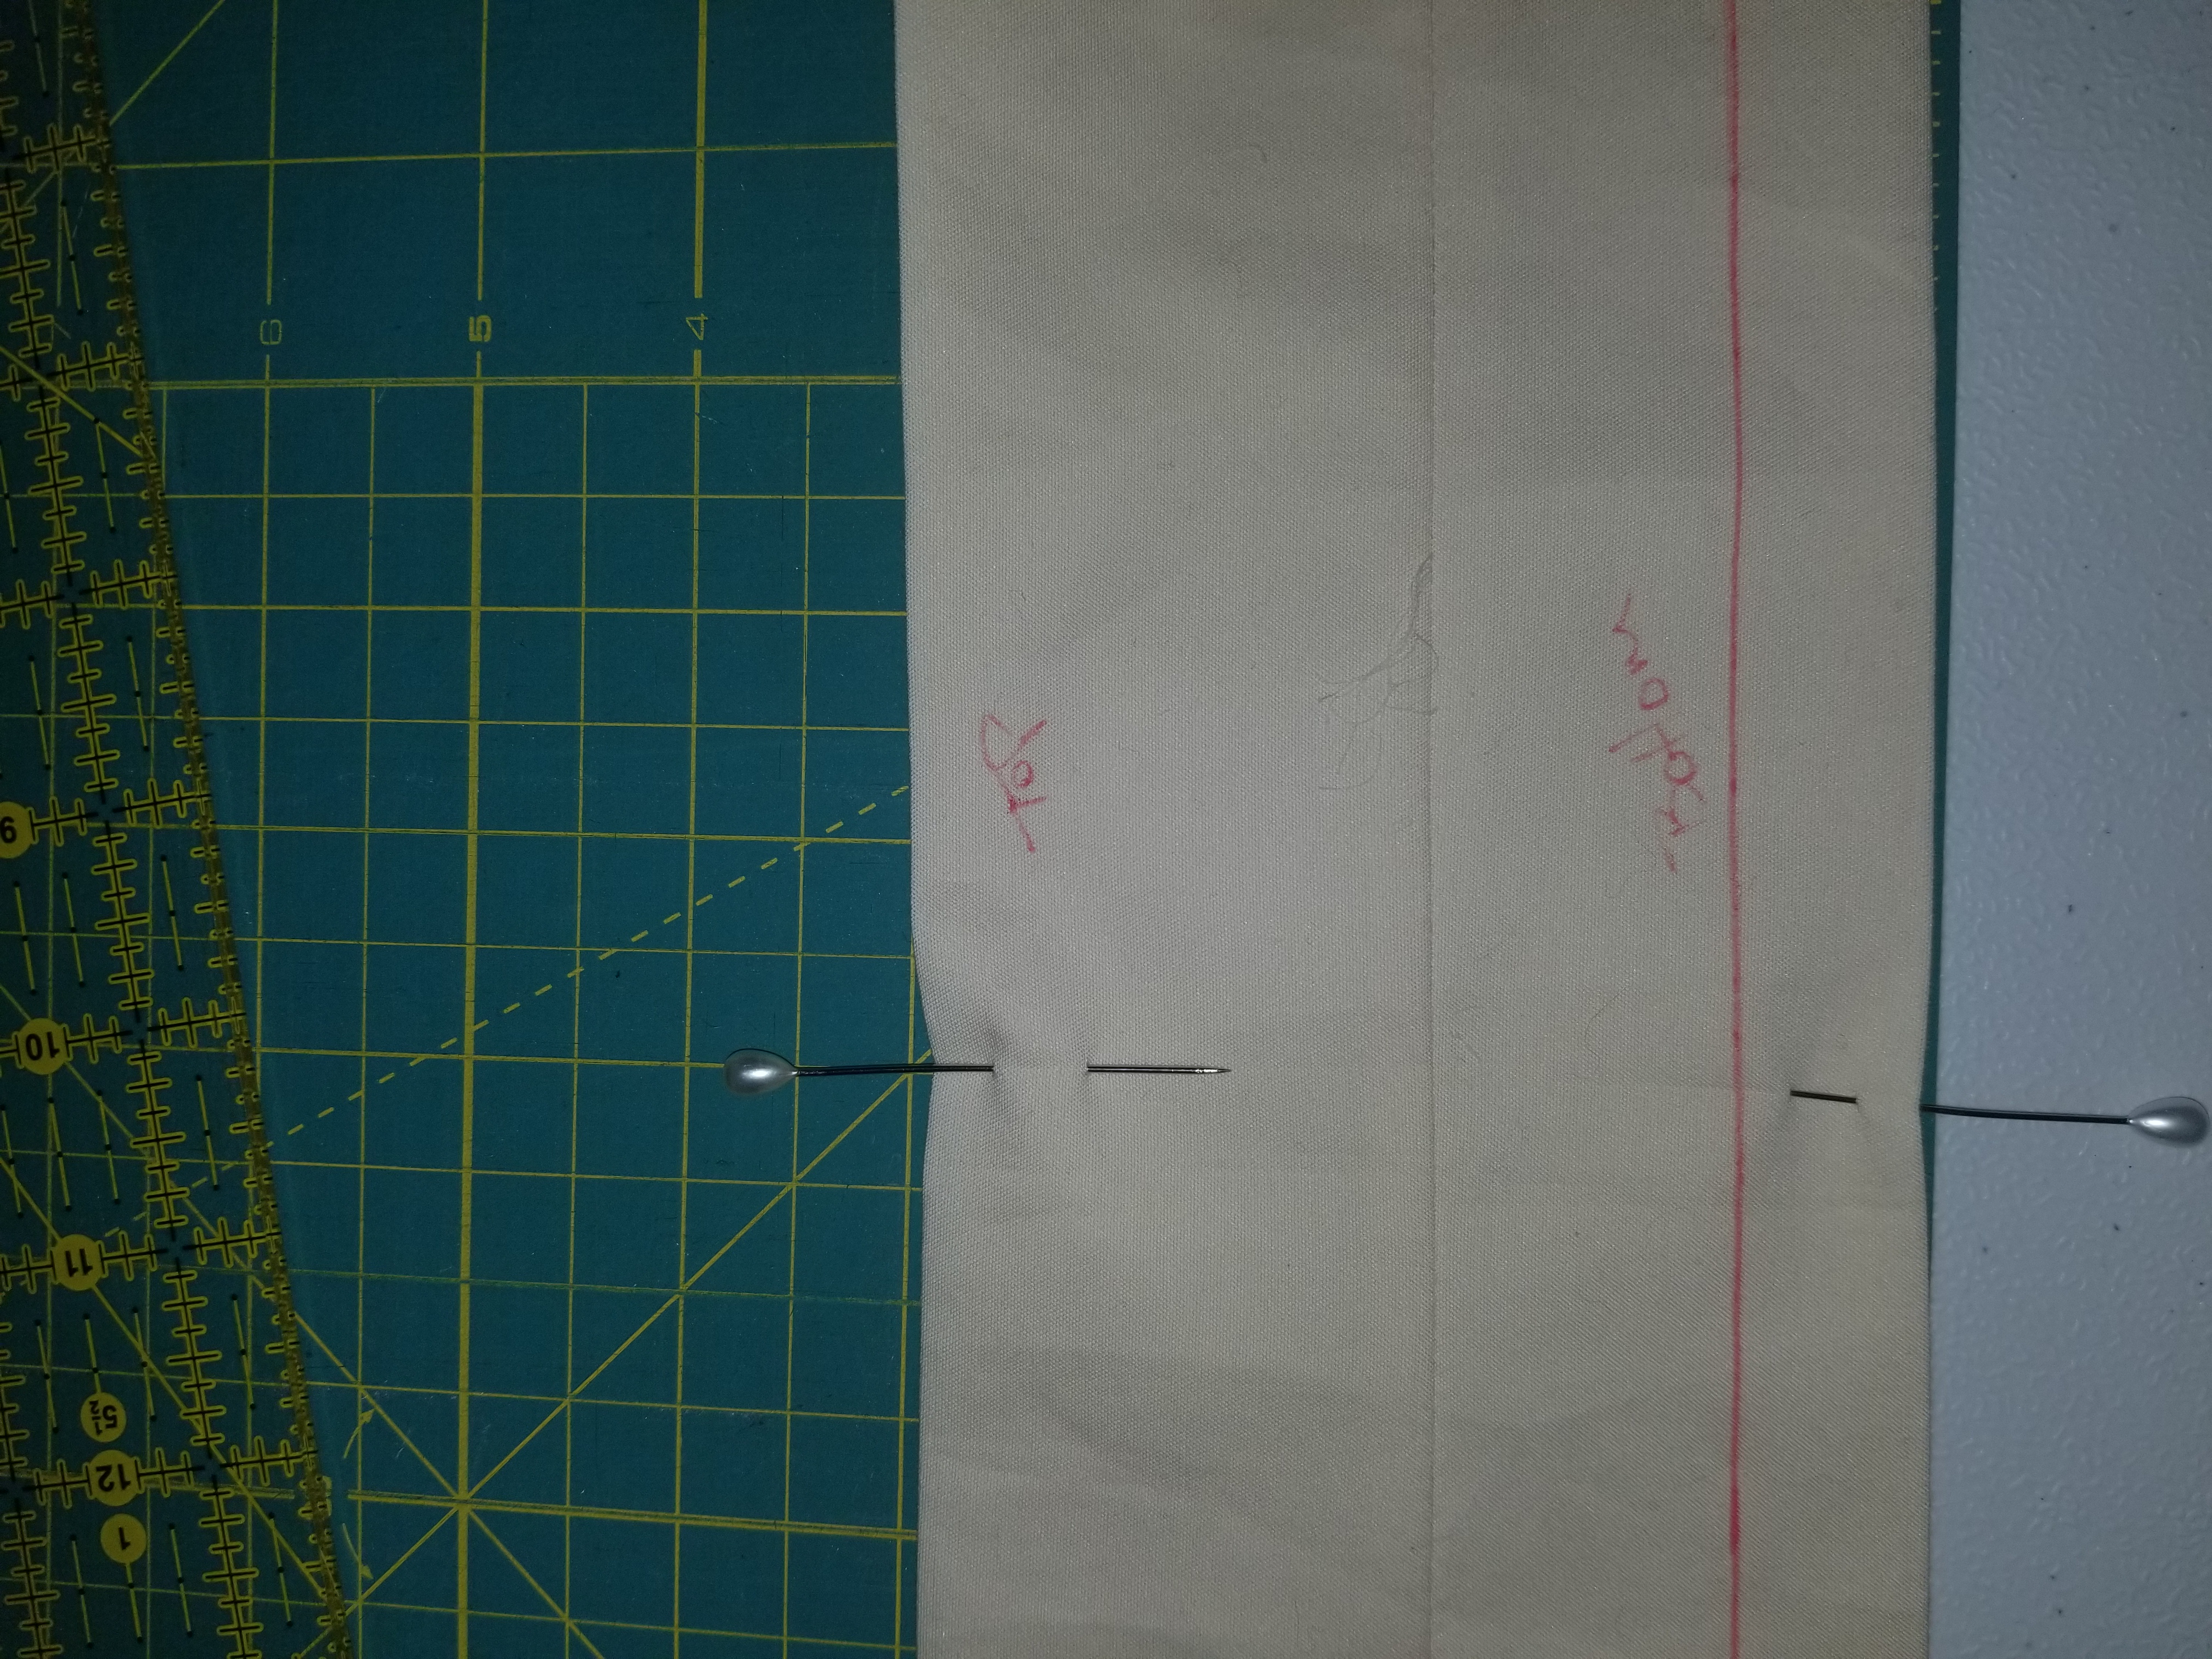
Step 7: Press your sleeve in half with the seam in the middle and facing up.
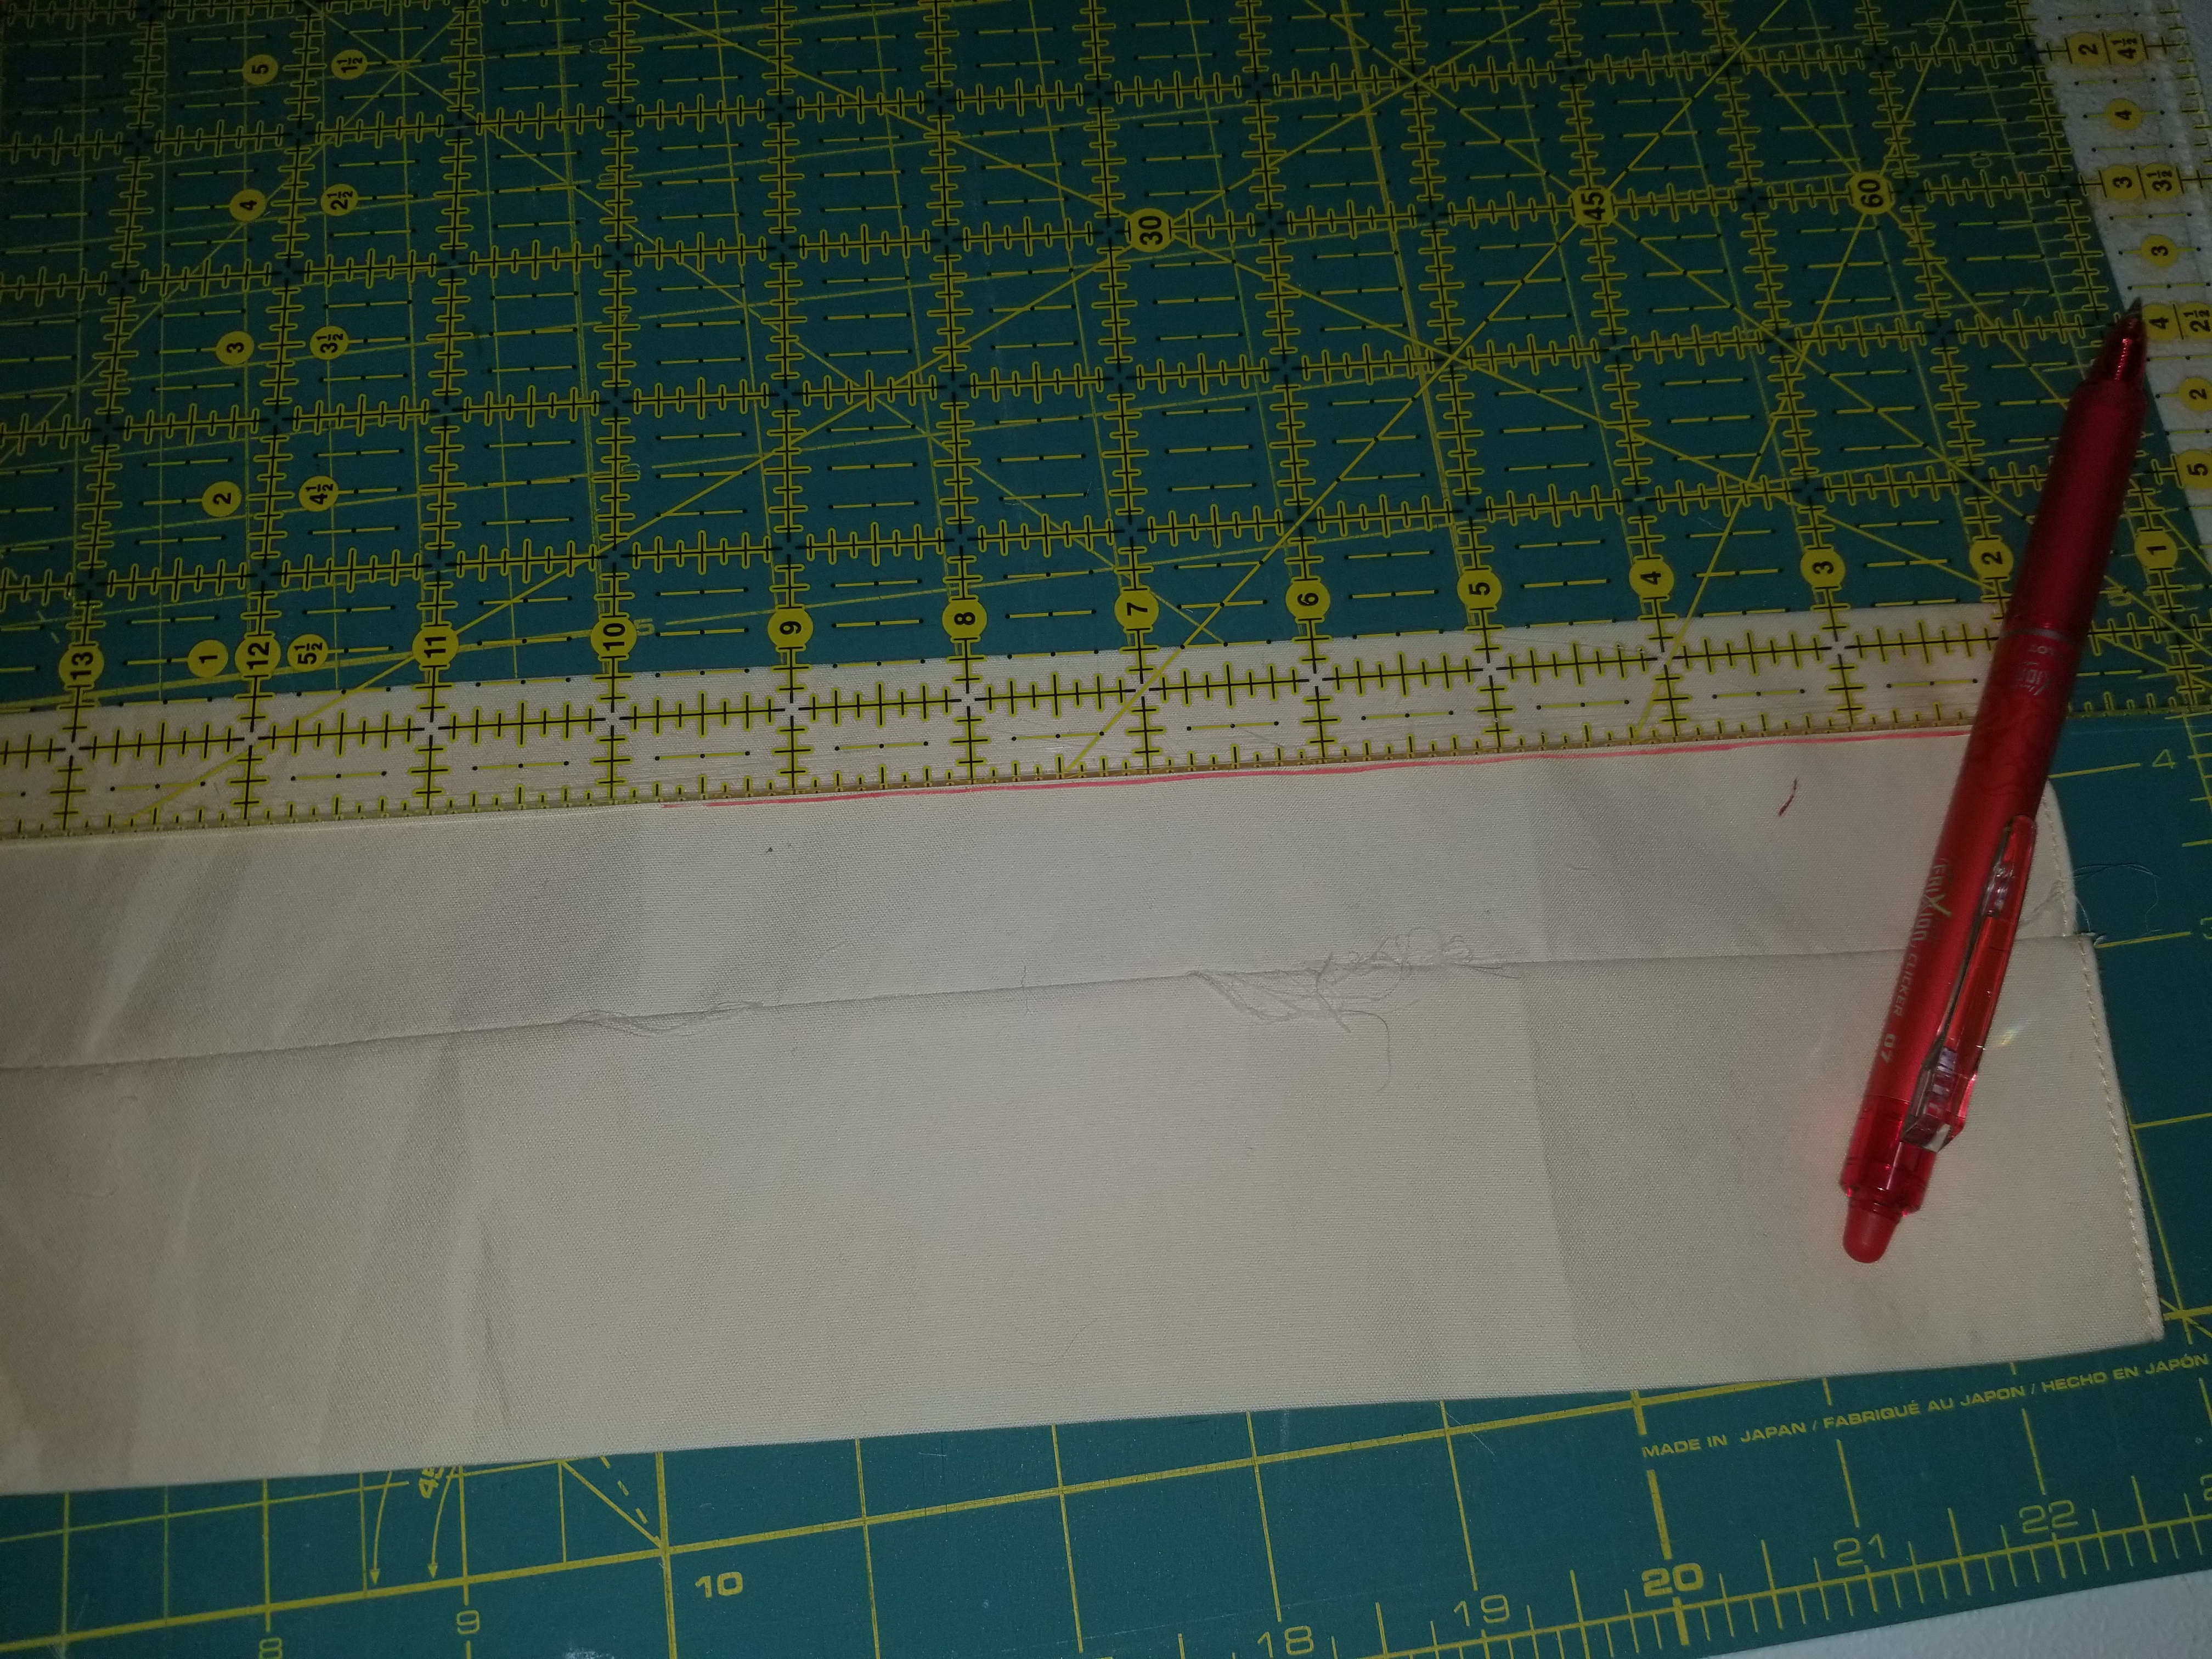
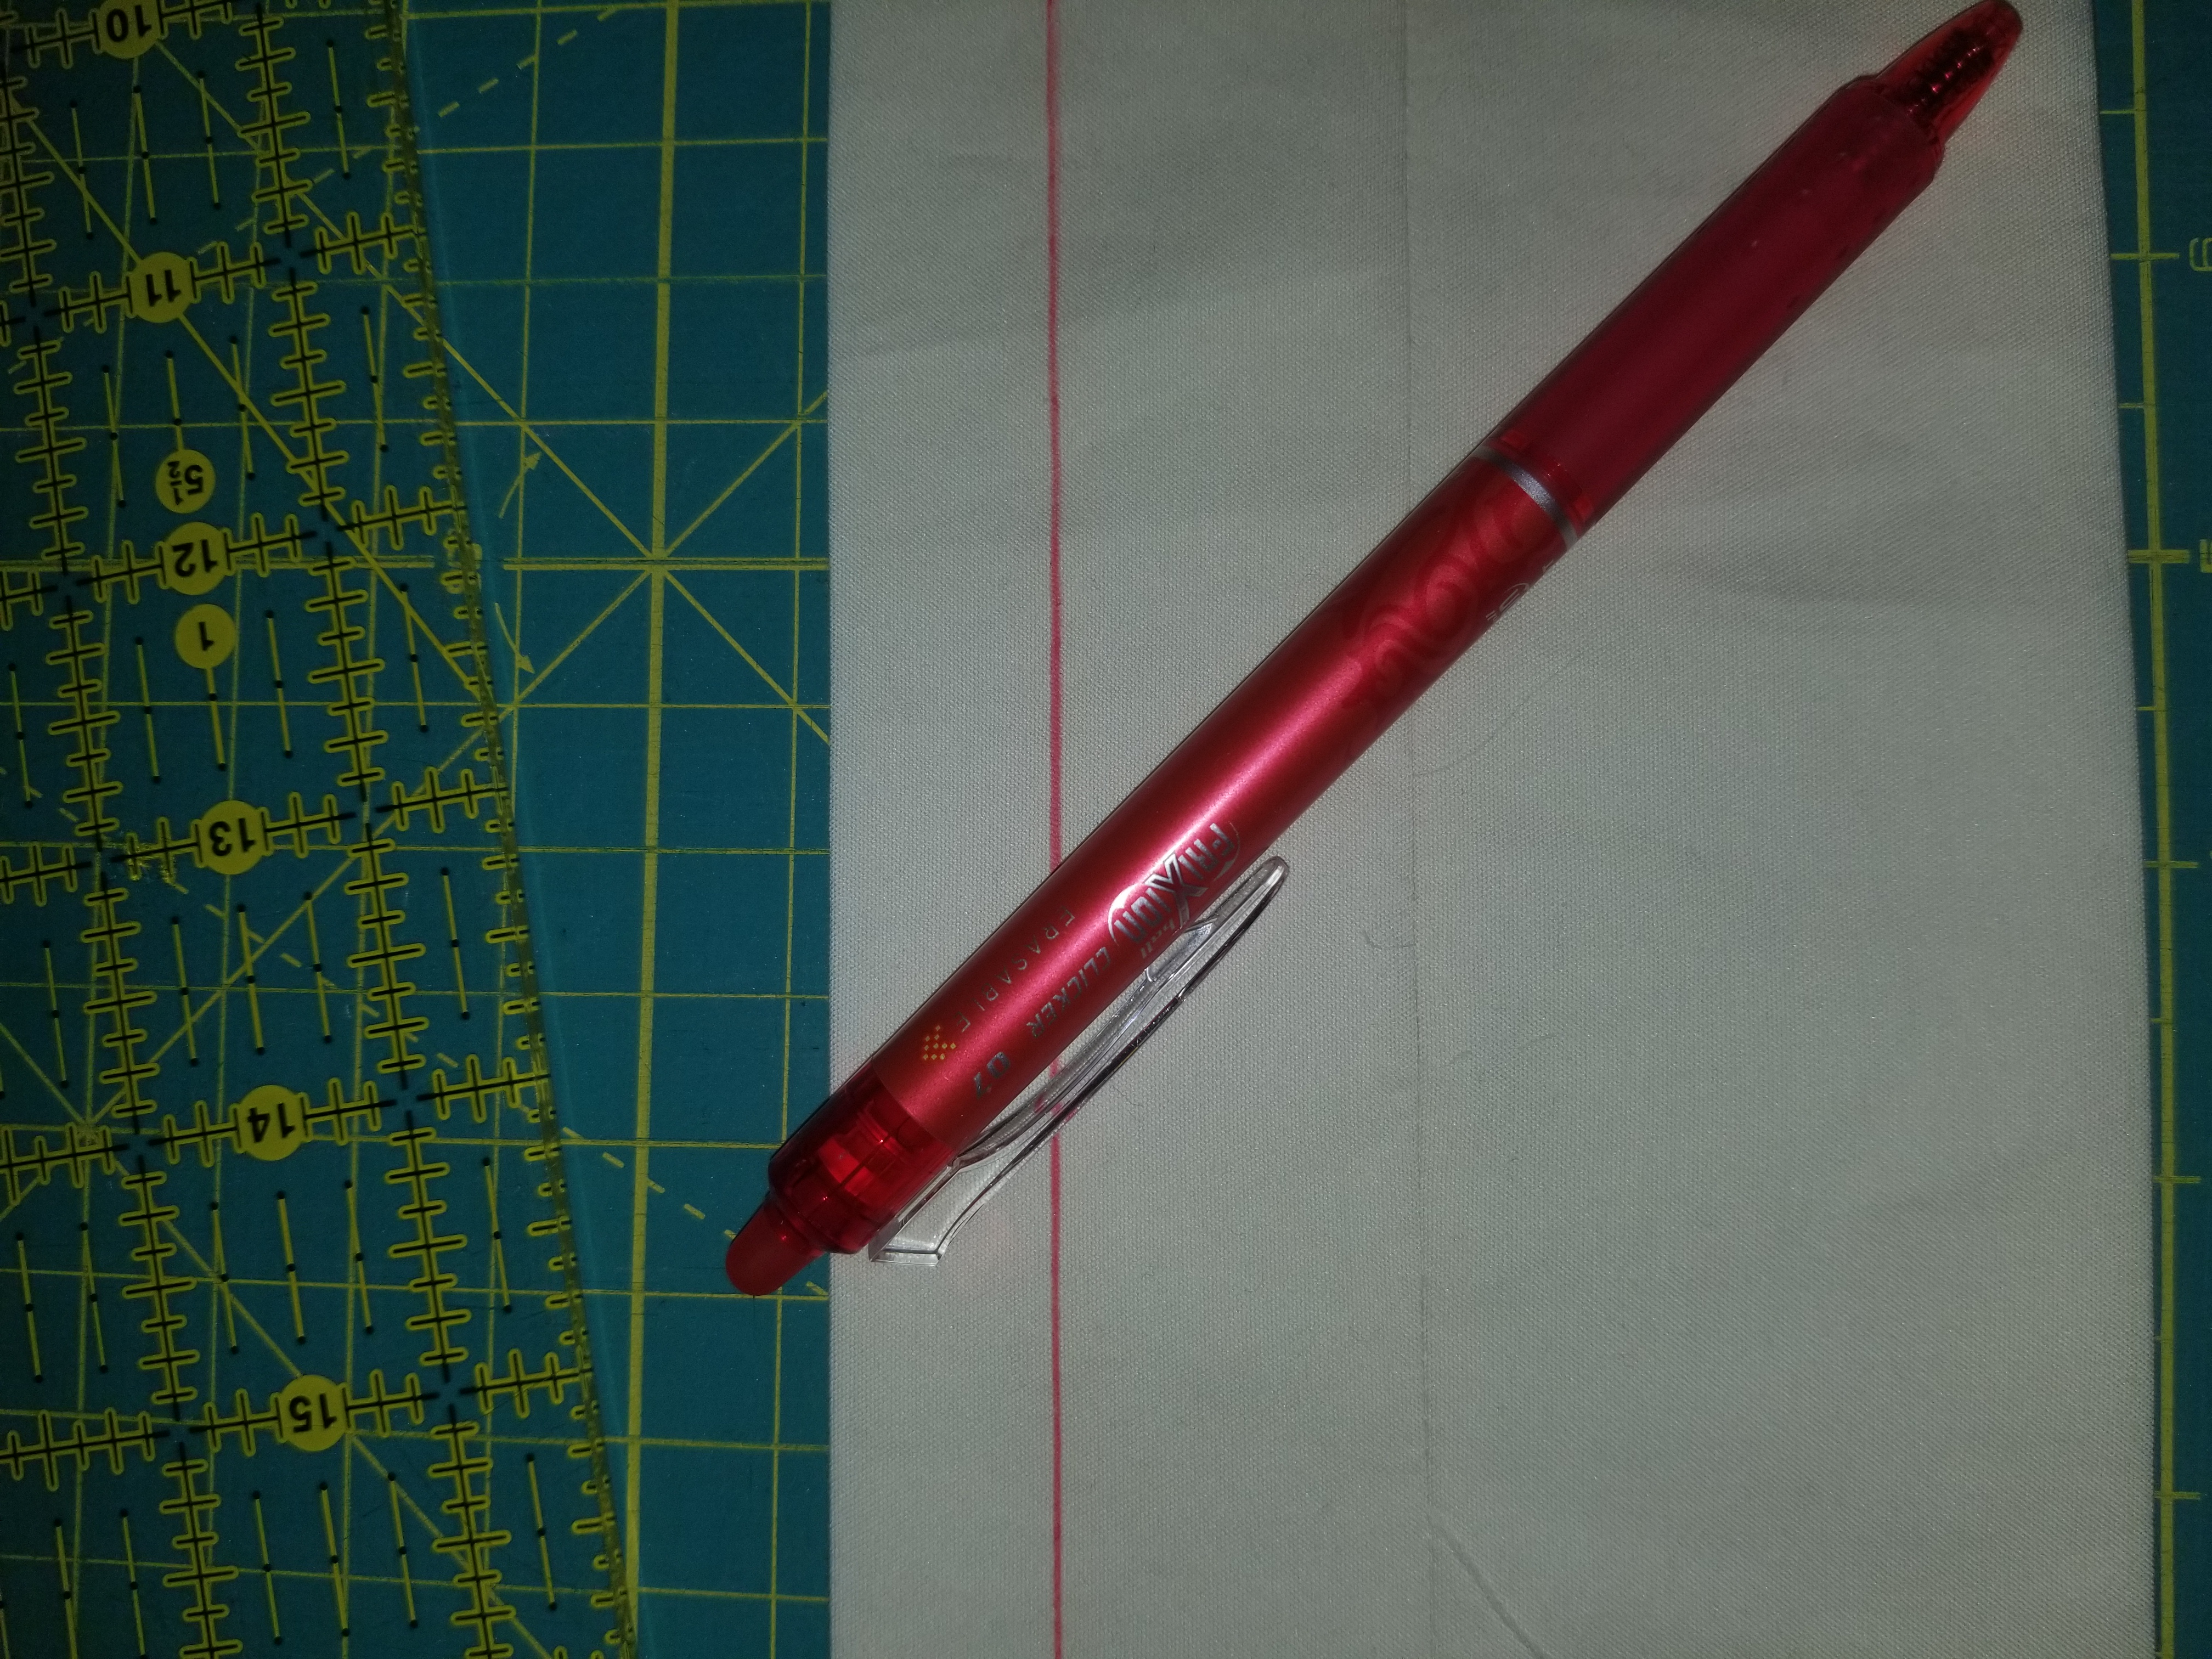
Step 8: On one creased edge, make a 1” mark across. This will be the bottom of the sleeve when attaching it.
Step 9: Put a pin in the top and bottom of the sleeve to mark the center point. Mark the center of the back of your quilt. Pin the sleeve (with seam and 1” mark facing down) to the back, top of the quilt 1” down from the binding. Pin the top and sides. Before pinning the bottom, shift the fabric to where you made the 1” mark across the bottom and pin there.
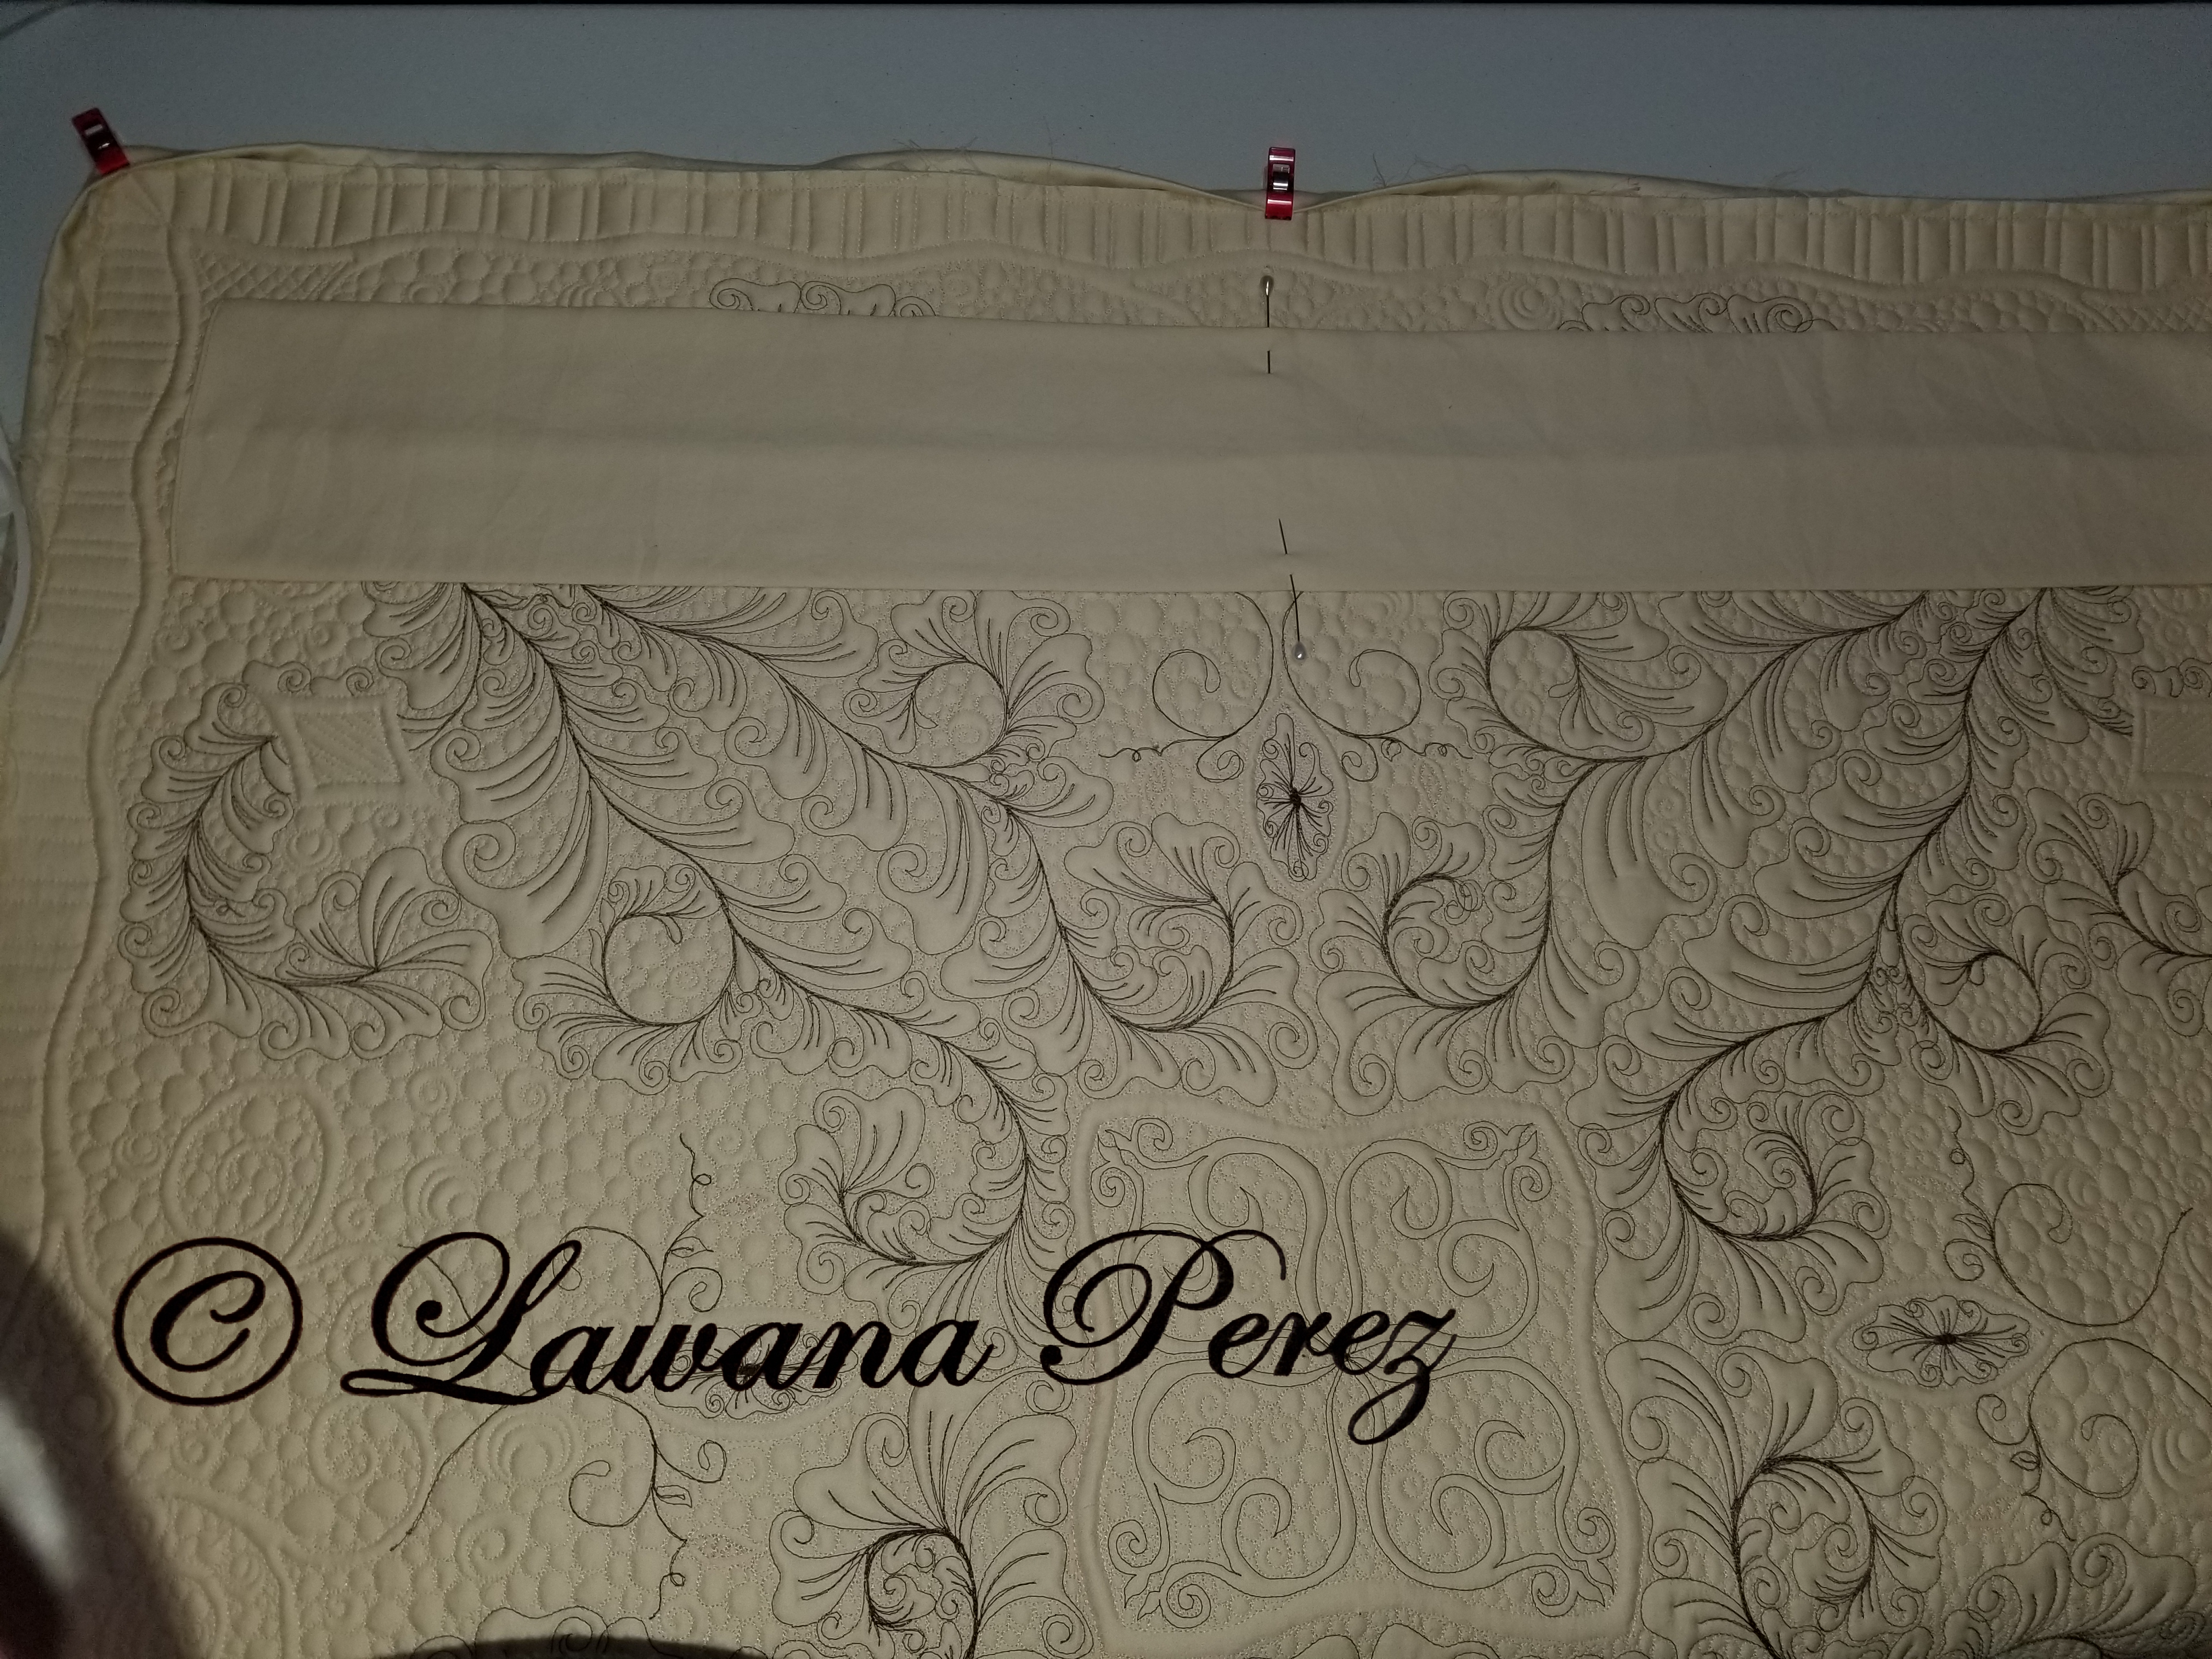

Step 10: Here is where you are going to use that four letter word Hand!!!! Hand sew your sleeve to your quilt back. Making sure not to go all the way through the quilt. You don’t want to see stitches from adding the sleeve on the front of the quilt!!! I use a blind stitch. But you just need to make sure that you have it secured to the quilt.
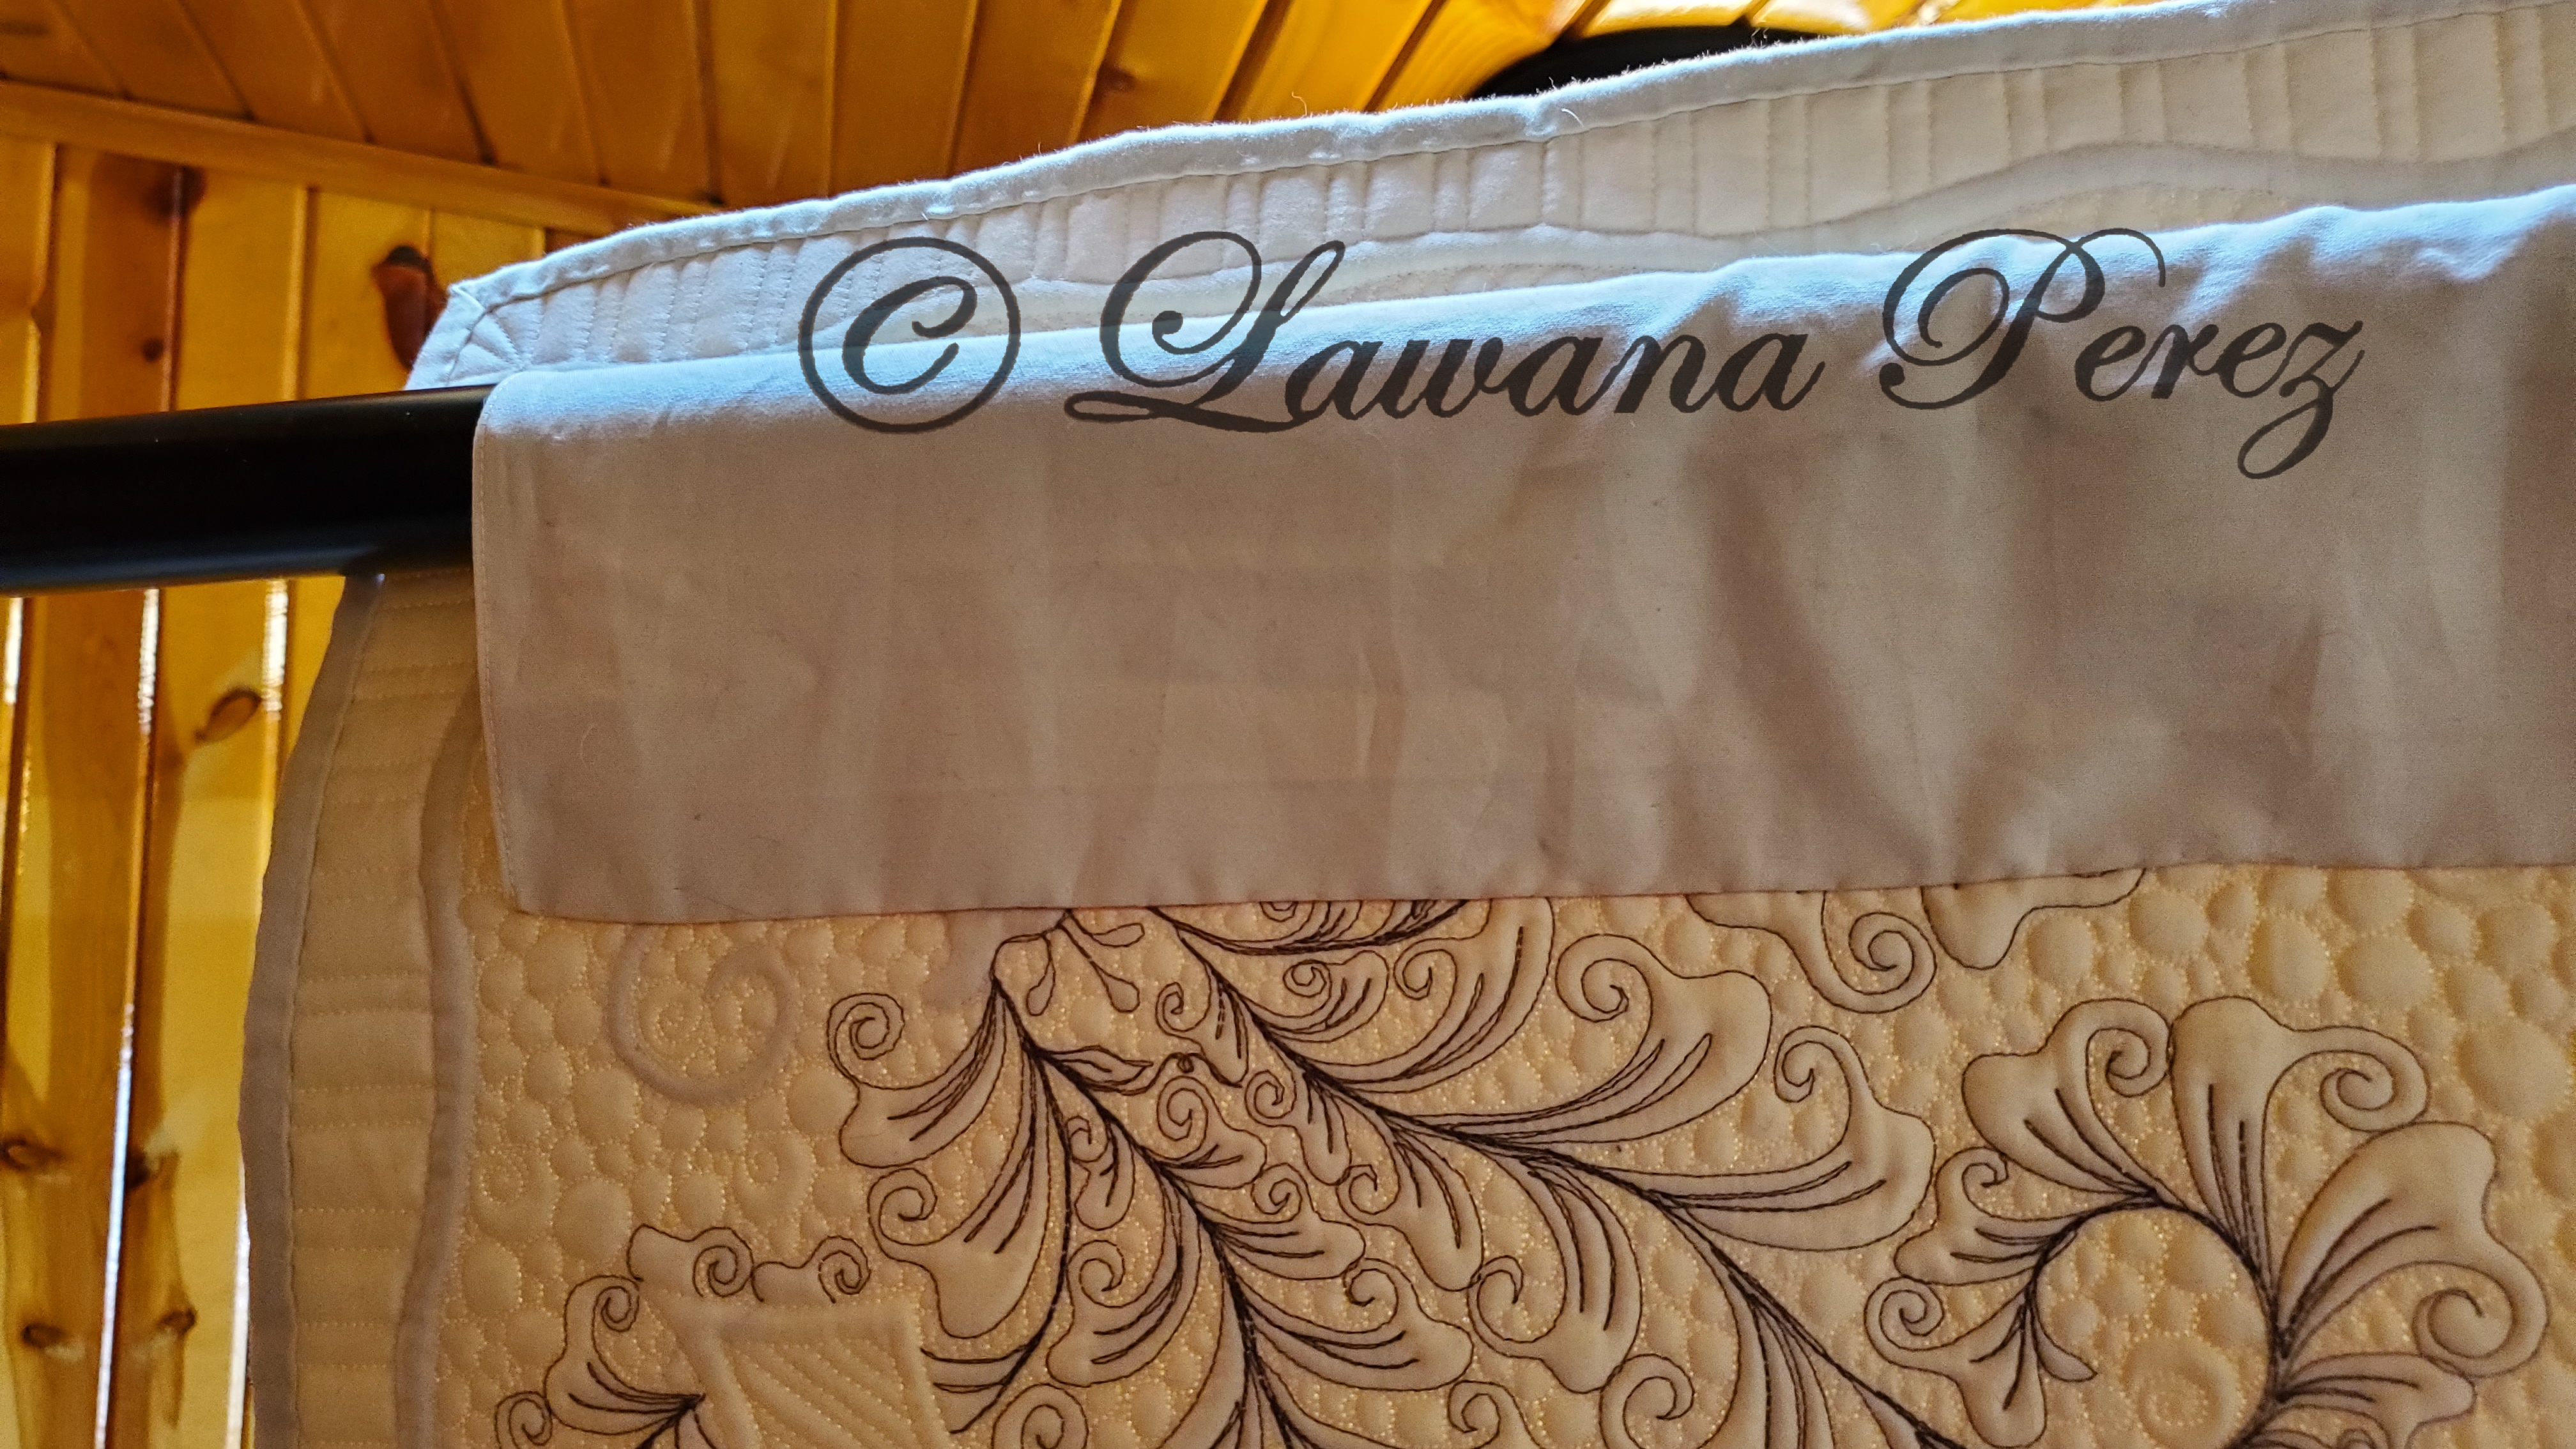
When you are finished it should hang very nicely.
Note: If you have a larger quilt (larger than the wof 42”) you may need to piece strips together longways, or cut from the lof (length of the fabric). Before moving on to step 4, make sure you secure that seam so that a rod/pole will slide through easily in either direction.
You can also break up the sleeve into smaller sections. But make sure that your sections are no more than 1” apart. You would follow the steps above for each section of the sleeve. Notice the gap in the sleeve (picture below).
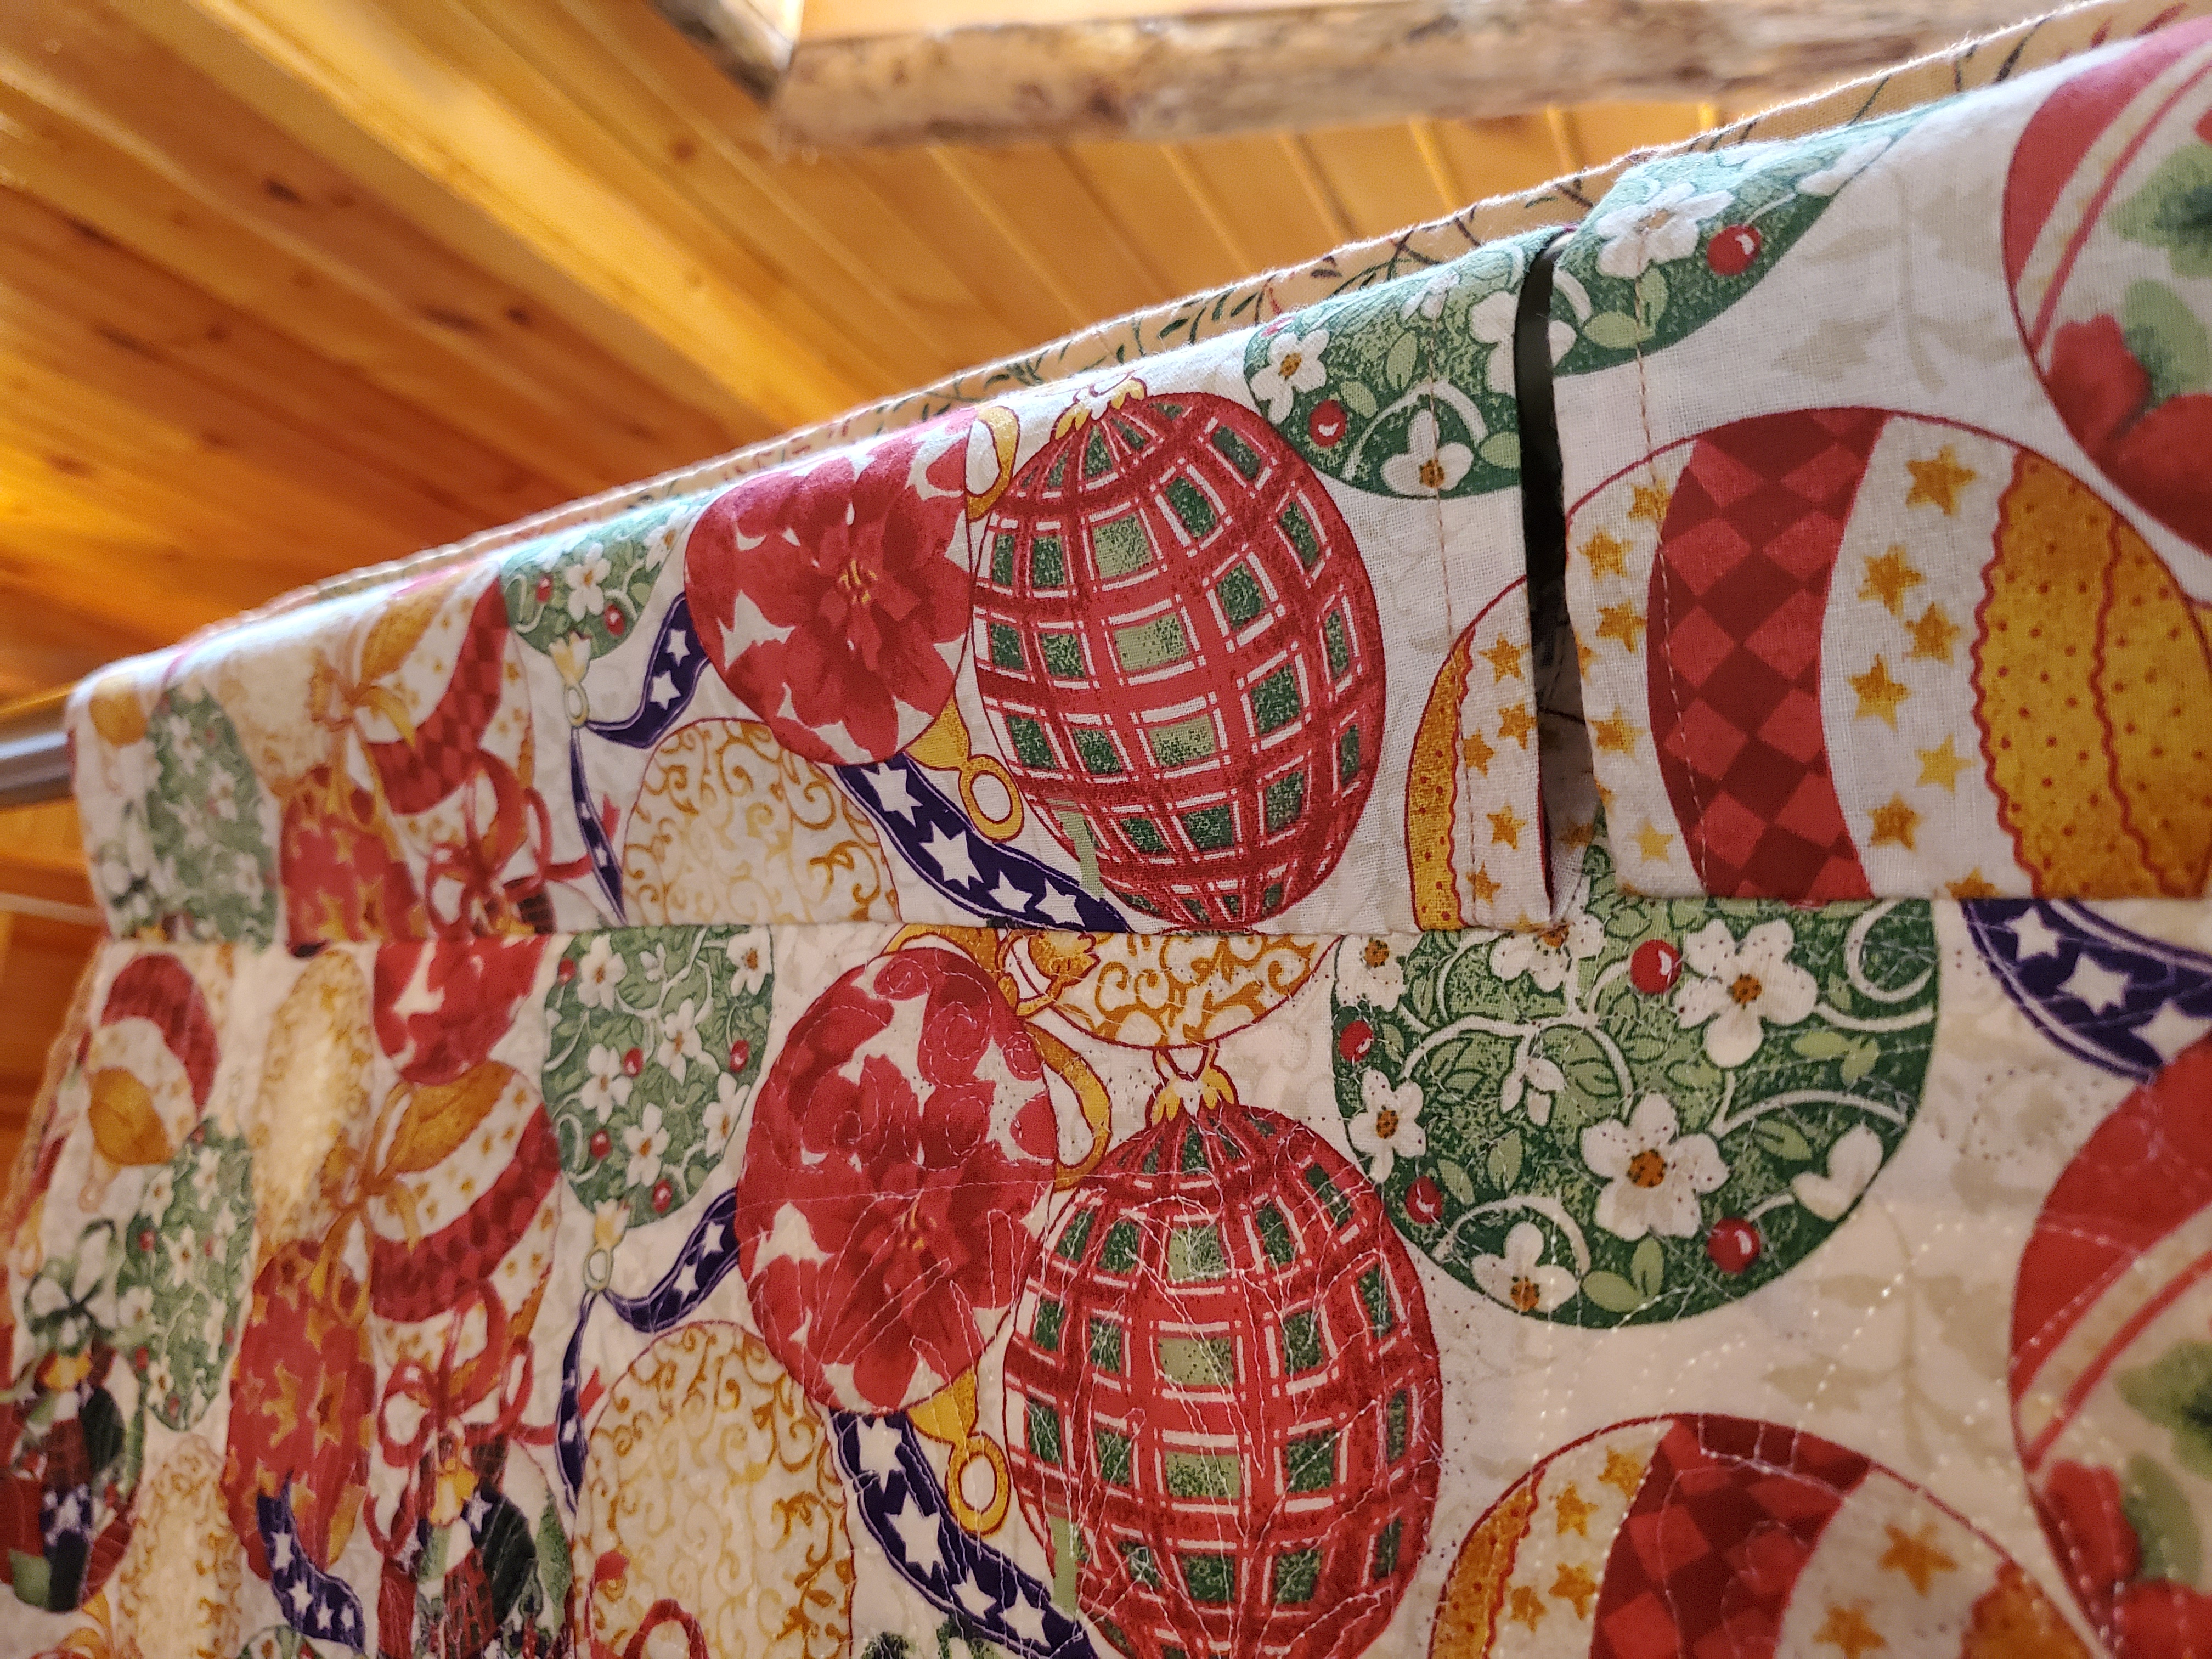
Thank you! to Carolyn Mack for the use of this picture.
Next week I will post instruction on the new way AQS is using to attach sleeves now. Then you can tell me which way you like better.
Until next time happy quilting…
And keep drawing and doodling!!
Leave A Comment