Binding
Binding your quilt is the last step in the quilt making process. This is the process of covering the raw edges of the quilt so it does not fall apart. There are a couple of different ways of doing this; by hand, by machine, or a combination of both. I will not be going into detail of doing it completely by hand, I will leave that to the hand quilters and the Amish.
My preferred method is a combination of both. Attach the binding by machine on the front side then flip it and hand sew the back side down. For this technique I used a binding strip that is 2” wide.
Today however we will be talking mostly about attaching the binding completely by machine. For the purpose of this blog I used a 2 ¼” binding strip. I have had customers bring 2 ½” binding, but it seams to be a little large to me.
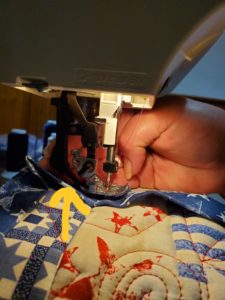
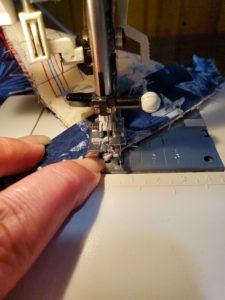
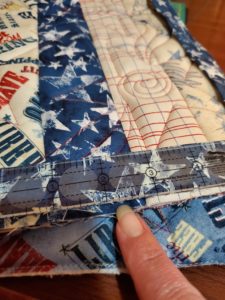
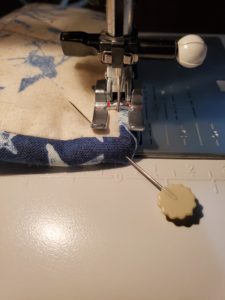
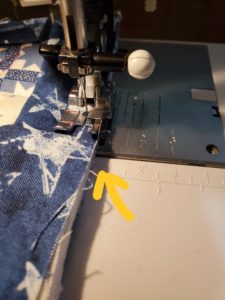 With your walking foot on and raw edges aligned, start stitching about 5 to 6 inches away from the end of your binding strip with a slight generous ¼” seam allowance. Remember to back-stitch.
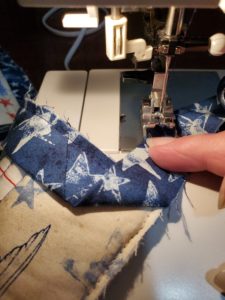
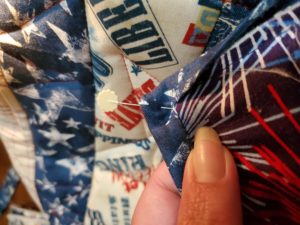
Stop ¼” from the corner with your needle in the down position. With your needle still down, sew to the corner and off of the quilt top. Lift your needle and presser foot so that you can slightly pull the quilt away from the presser foot. Lift the binding strip up and away from the quilt top. Then fold it back down so that the raw edges of the binding strip and the quilt top are aligned again.
You just created a perfect mitered corner!
Congratulations!!
Start sewing along the raw edges of the quilt again. Repeat this until you are about 5 to 6 inches from where you started. Back-stitch and cut your threads.
Here is where it will get a little difficult!
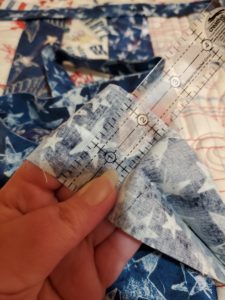
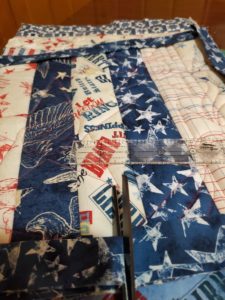
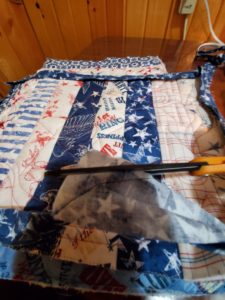
You should have 10 to 12 inches of free binding (not sewn down) to work with. Measure the width of your binding if you haven’t already. Mine is 2 ¼”. Overlap the beginning and ending tails of the binding strip. They need to overlap by the width of the strip. Trim any excess binding away.
Not bad so far right!
Well here is the super fun part! LOL!!
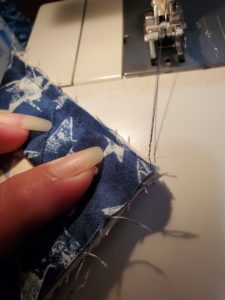
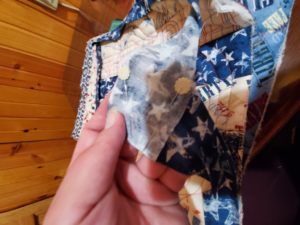
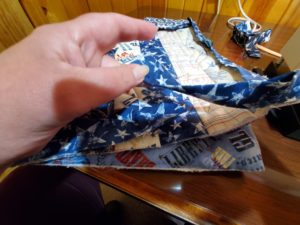 With the un-sewn binding part facing you, open and turn the left side with the right side of the fabric facing up. Open and turn the right side clockwise about 1 ¼ turns so the right side of the fabric is facing down to the other piece (right sides together. Putting them in an L shape as if you were joining strips together (which is what you are doing).
Sew from the top left corner to the bottom right corner. Finger press to one side or the other. If you prefer you can take it to the iron. Trim excess fabric leaving about a ¼” or so.
Close the binding strip with wrong sides facing again. Completely sew binding to the quilt top.
Congratulations the worst part is over!!!
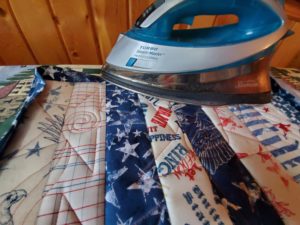
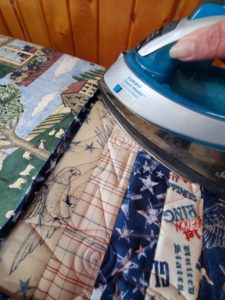
Take your quilt to your ironing station. Press out the binding so that it will wrap around the quilt top much easier. Make sure to press out the corners really good as well.
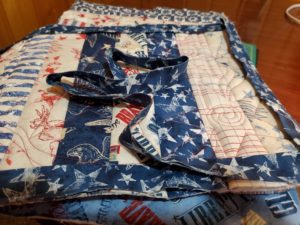
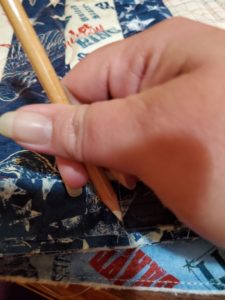
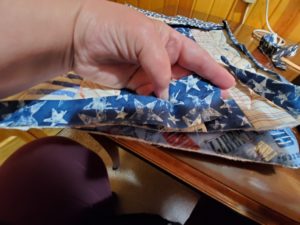
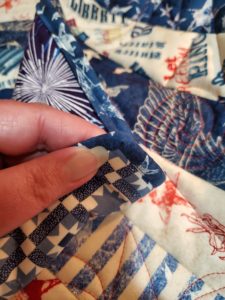
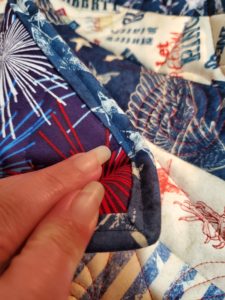
Wrap the binding around the quilt top and pin if desired. The only part I usually pin are the corners as I want those to stay perfectly mitered. Note: Your mitered corners should be going in opposite directions. One way in the front and the opposite way in the back so that you are not creating nostrils or a nose (LOL).
Stitching in the ditch from the front of the quilt. Or sewing right next to the binding just made, as it will catch the binding on the back of the quilt.
Another way of machine binding would be to use a bias binding foot. I have never done this, but I think I might have to try it and report back.
Side note: The place mats being used for the pictures were pieced on the longarm. If you would like to see more about piecing on the longarm email me at info@longarmlady.com
Until next time…
Keep drawing and doodling!!

Leave A Comment